One of the many things I appreciate about the One Room Challenge is that it motivates me to finish a room despite the obstacles of a home renovation. This Challenge was made more daunting once my Dad got sick. Caring for him and navigating his doctors’ plans is another job by itself. Not to mention my actual job running my design business. So as push comes to shove, there are things I’d planned for the bedroom makeover that will scale back. BUT… I won’t tell you the “coulda’ been” moments until the final reveal. I have a feeling that once you see the finished photos you won’t think anything is missing.
So, if you’re a fellow ORC participant, or you’re thinking about your own home renovations, remember that there are always things to scale back and manage your stress. Perfection is not the goal and it’s impossible to obtain. Join me as I take you through the final progress post for our bedroom makeover!

If you clicked through from the ORC site, howdy! I’m Shaun Crha (sir-ha), an interior designer in Long Beach, CA. You can see my previous One Room Challenge renovation here. My husband, Sean, and I are currently renovating our 1930 Spanish bungalow – the Crhacienda. Get it? Because my last name is Crha! 🙄🤣 We’ve already finished the following spaces: our dining room, laundry room, front garden, and a completely new guest house (the Casita). Thank you for joining us as we tackle our master bedroom makeover! If you’re trying to catch up on everything be sure to visit my Week 1 post (before pictures, inspiration, and moodboard), Week 2 (design plan, progress, design concept), Week 3 (the master closet plans, trim paint progress, the great dresser debate), Week 4 (master closet progress, wallpaper, marble dresser top, custom window), Week 5+6 (Limewash paint, lighting, details).
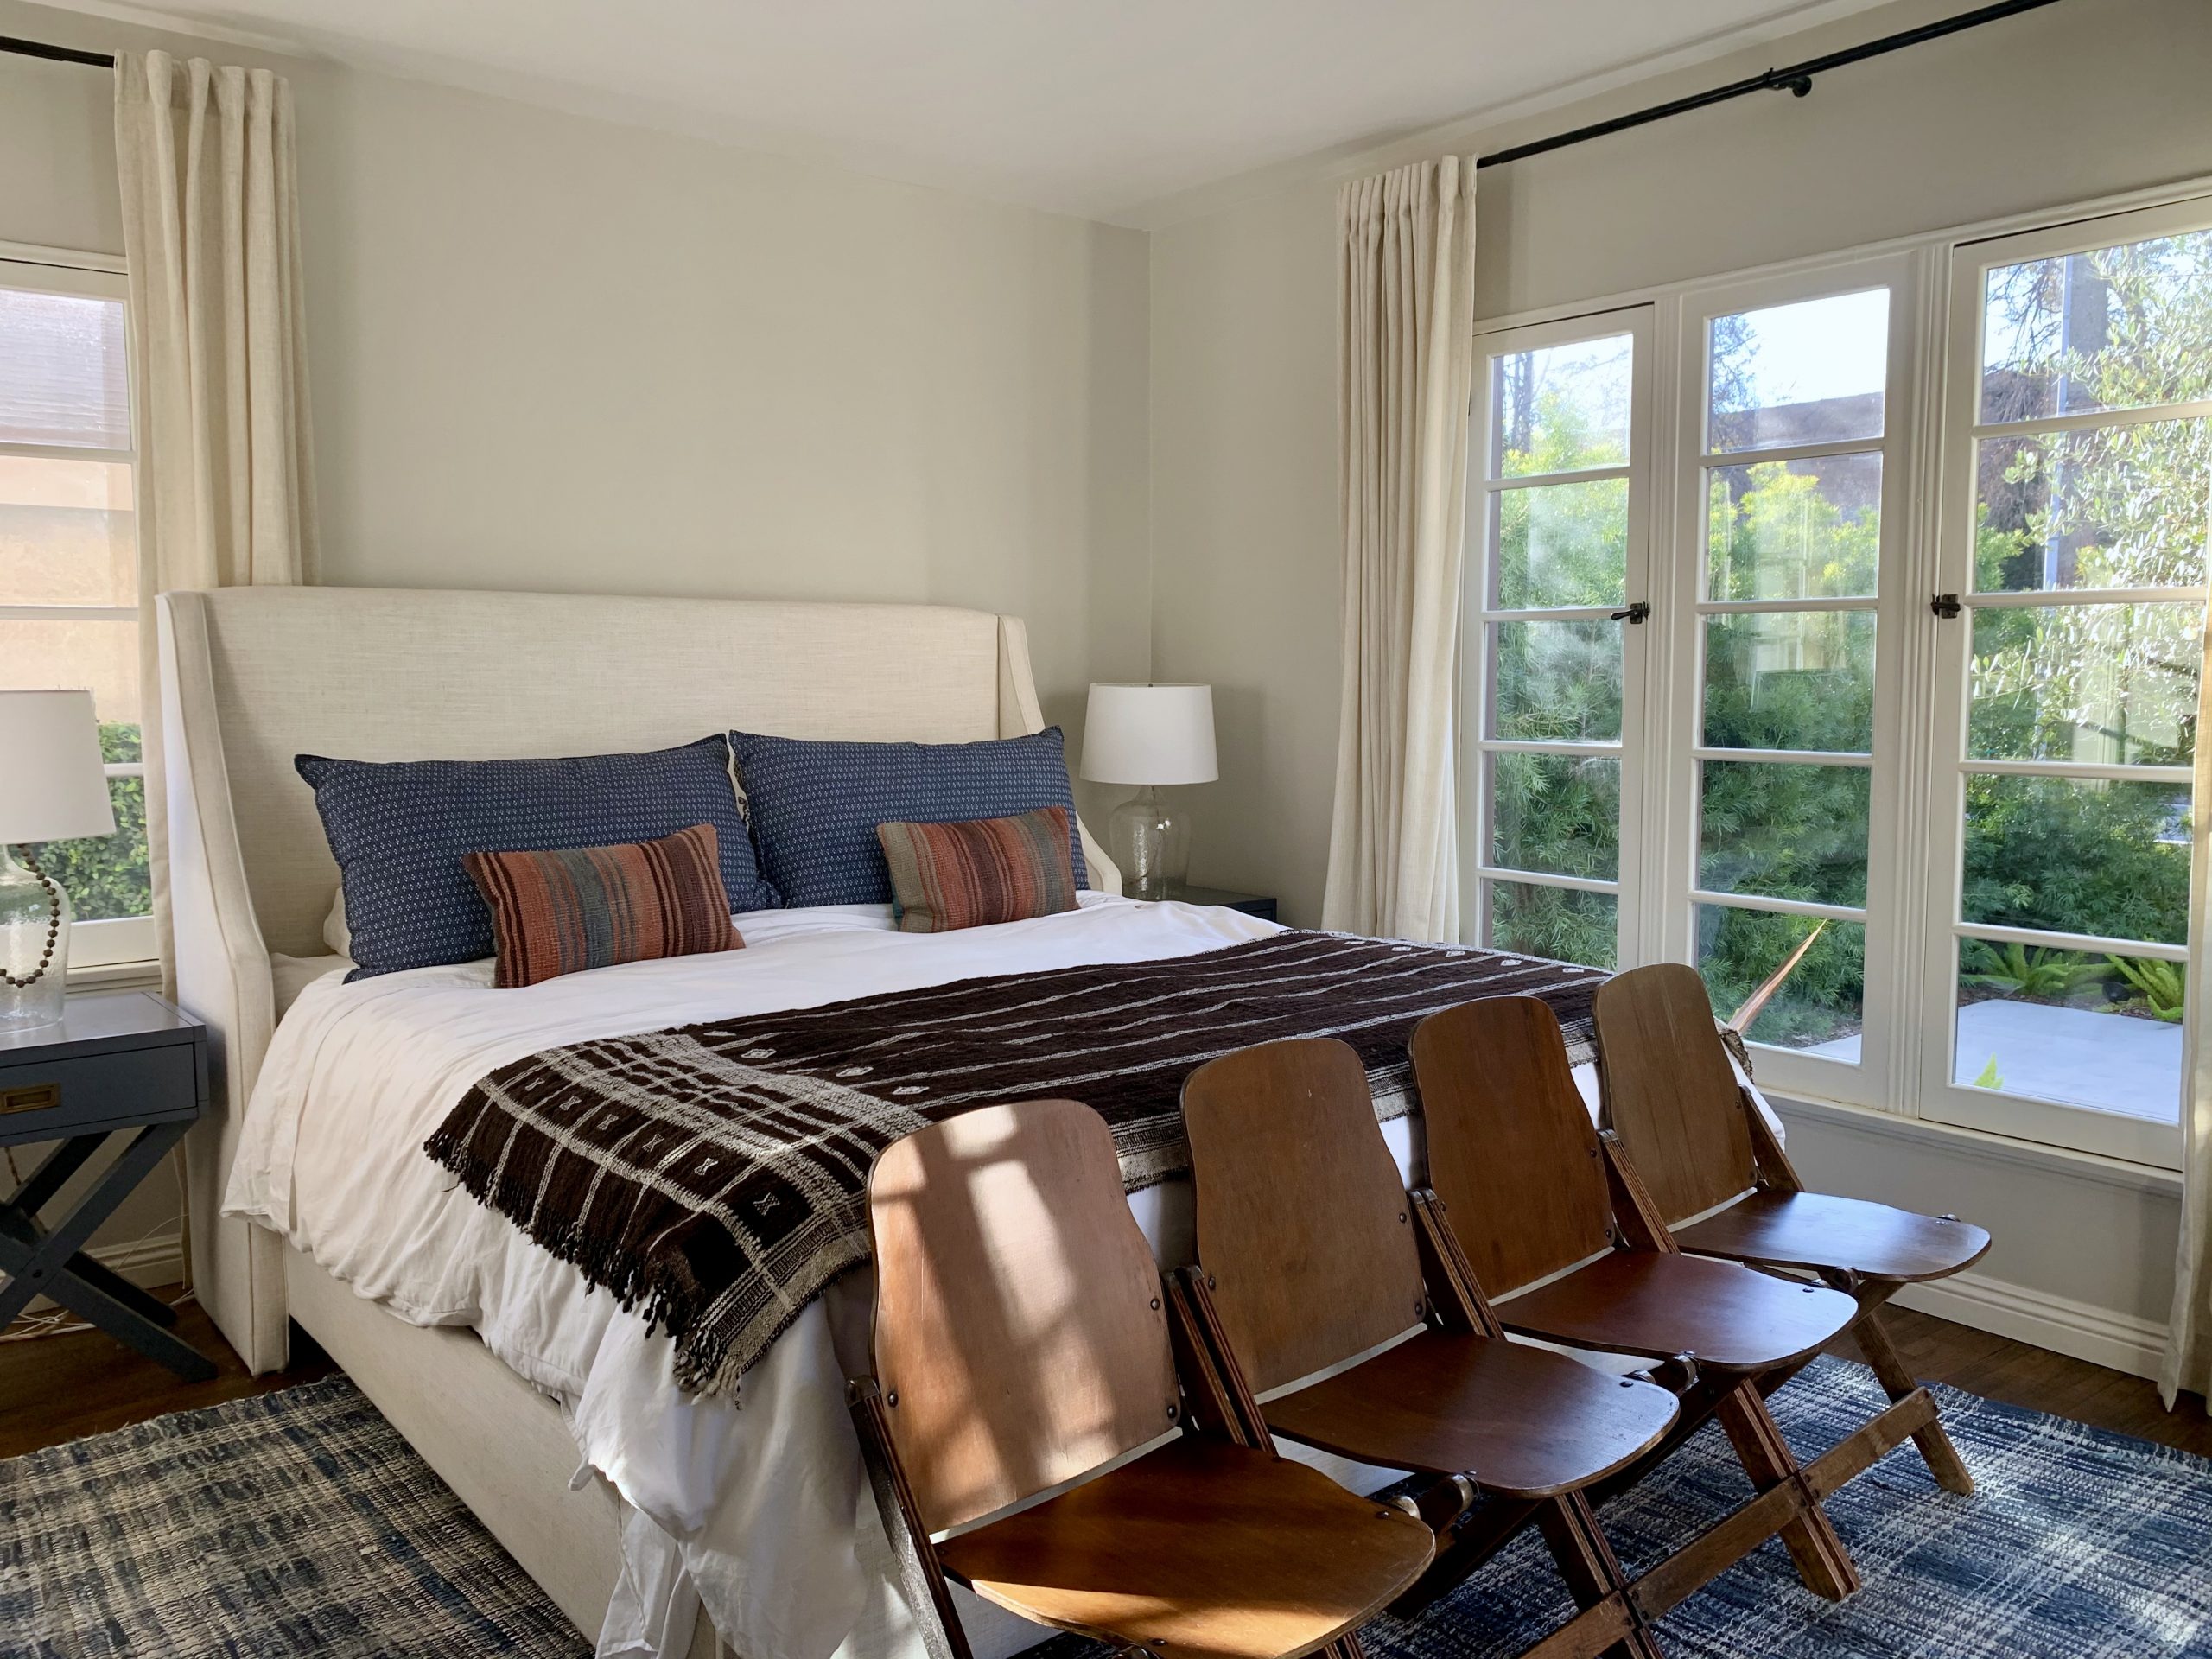
WINDOW TREATMENTS BEFORE
When we first moved into the Crhacienda I bought inexpensive French return rods and put up some natural-linen curtain panels. They weren’t meant to be a long term solution because in my dreams we were putting custom window treatments in the entire house. The budget for that was also in my dreams. 🤣 Fast forward a few years and the house has a mix of custom and off-the-shelf window treatments as our wallets have allowed us to make updates. The bedroom still had the off-white panels I put up when we moved in. Remember this before photo?
WINDOW TREATMENT PLAN
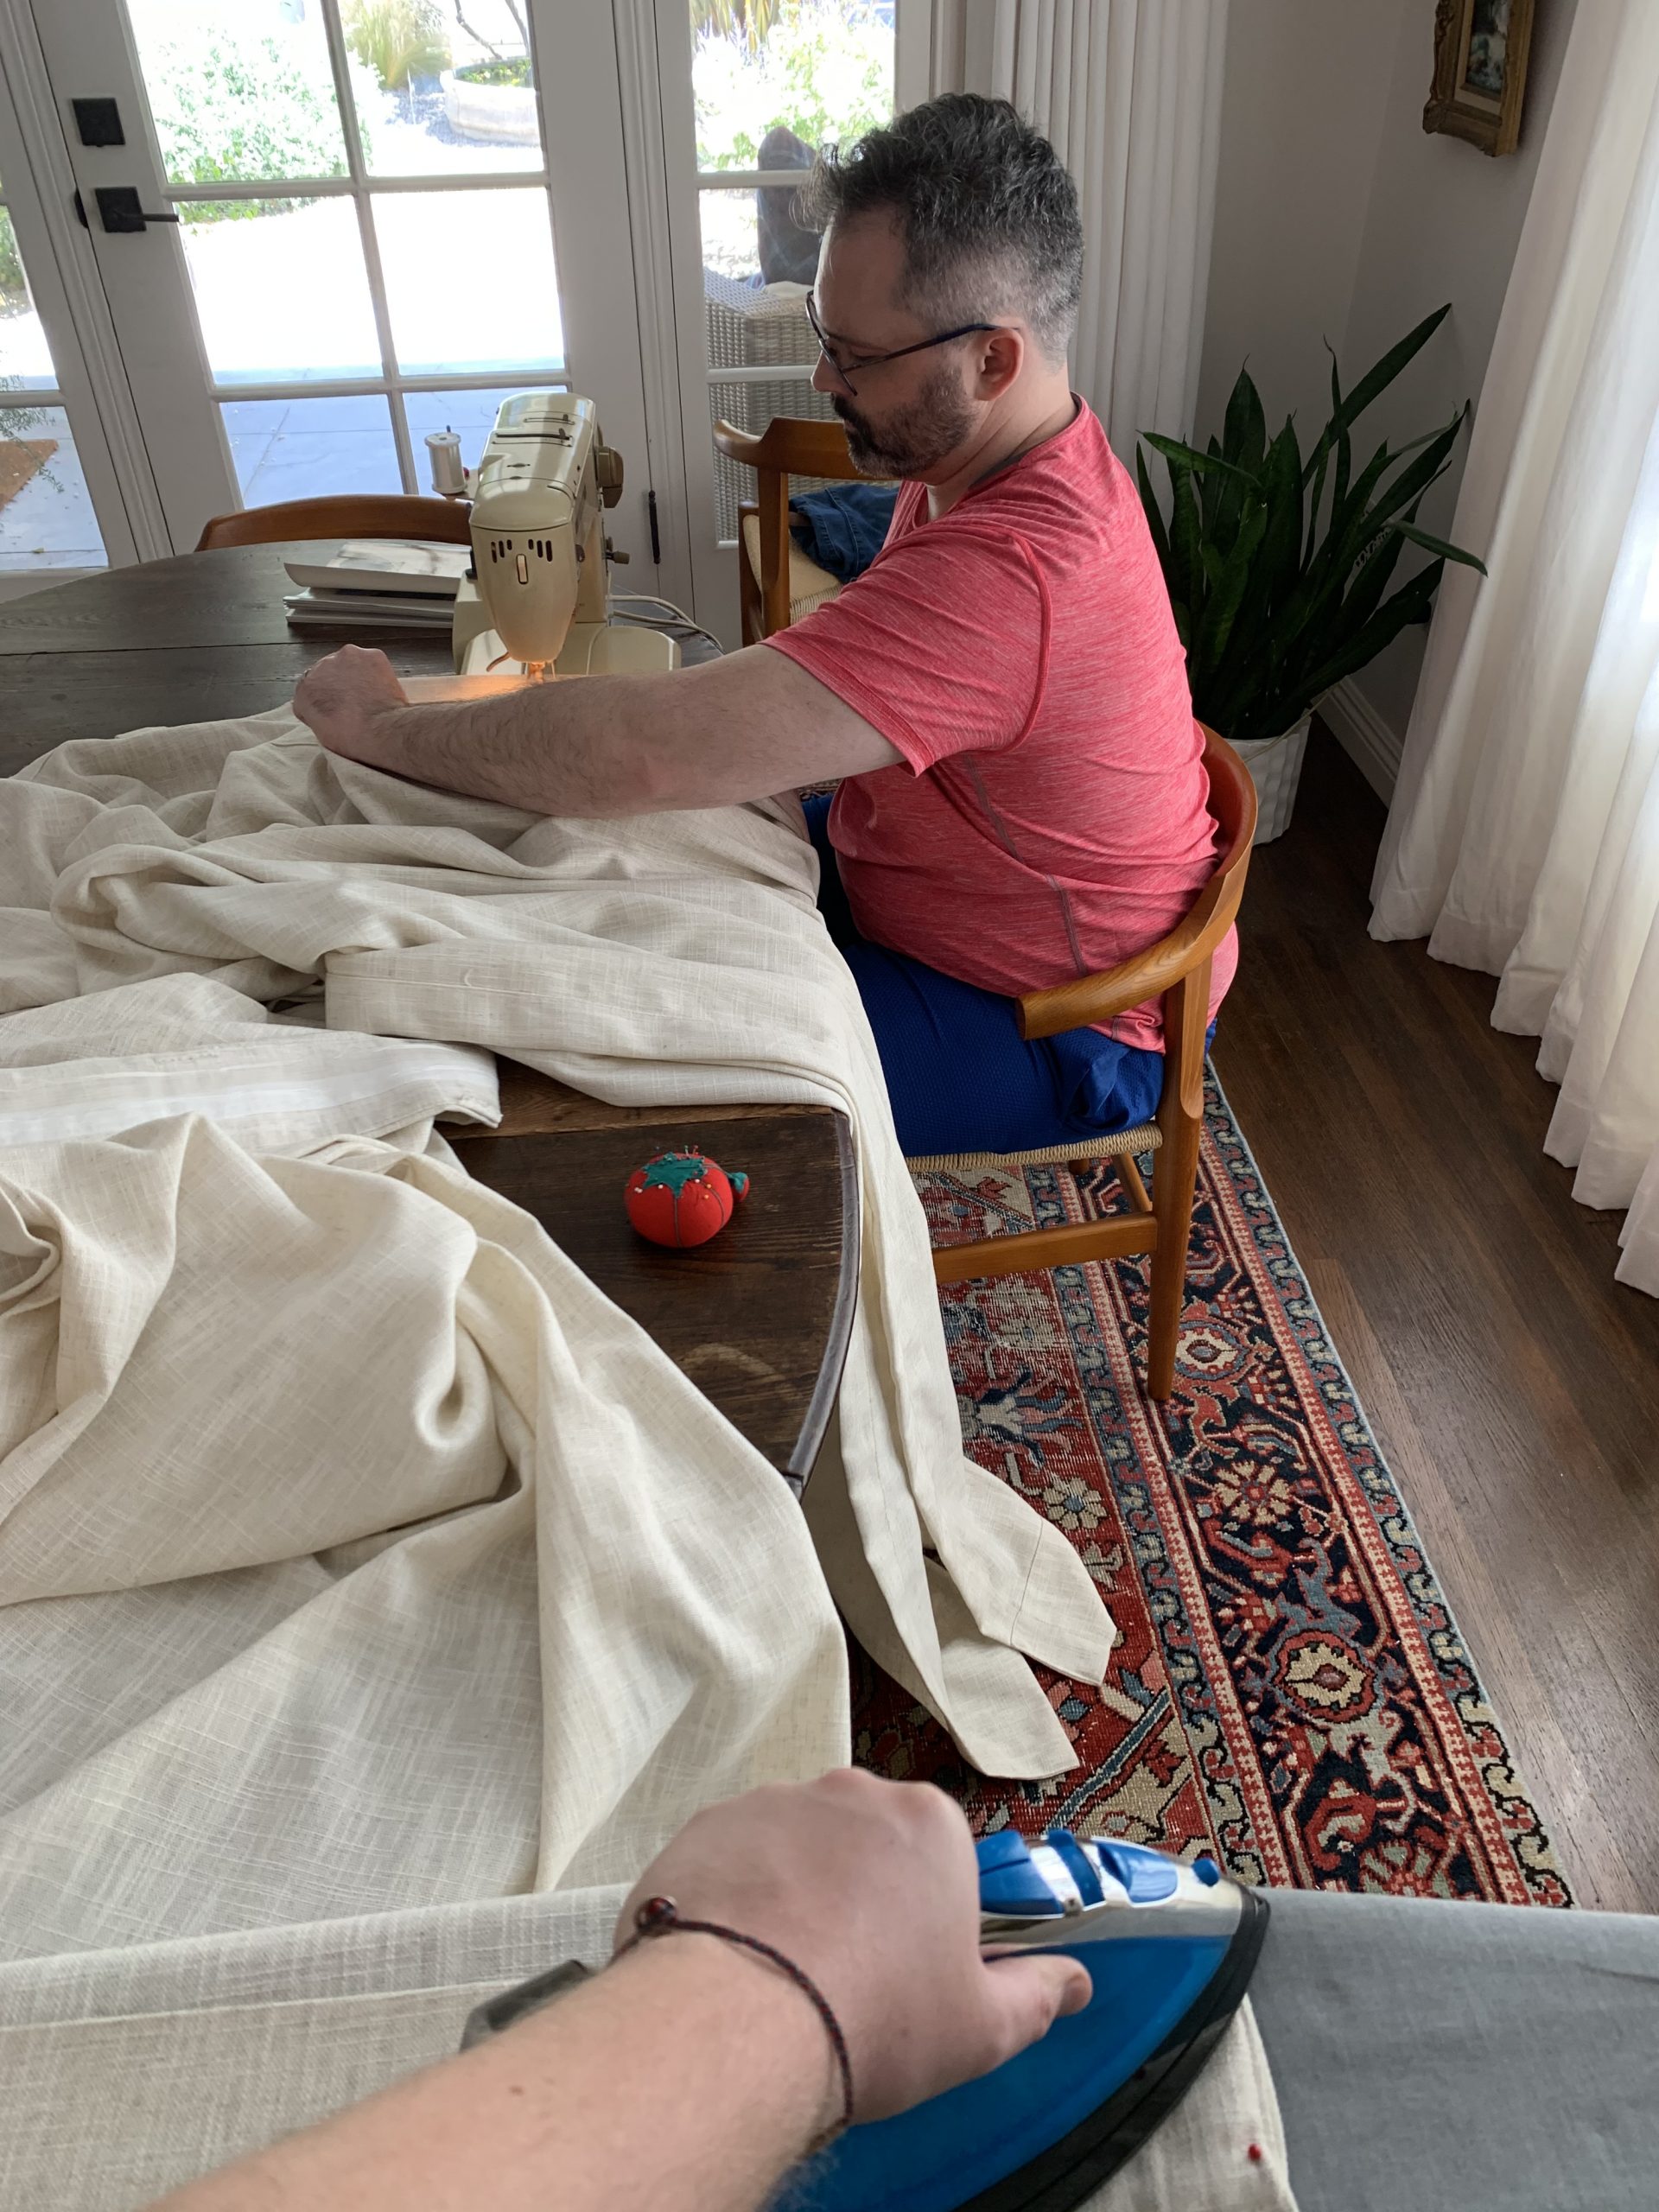
Early in the bedroom makeover I knew that custom draperies wouldn’t fit in the budget. Between the beams, lighting, and furniture there wasn’t much left for window treatments. If you’ve never purchased custom draperies before let me prepare you: they are expensive. Like forreal. But they also make a room look and feel high-end and until you’ve experienced the function of custom draperies you don’t know what you’re missing. Custom draperies in the bedroom would have been thousands of dollars I wasn’t prepared to spend. So I decided that I would re-work the existing curtain panels to be more like draperies using the sewing machine I inherited from my Grandma. Here’s how:
1. Remove the existing header on the curtain panels (they were too heavy/bulky)
2. Sew 2 50″-wide curtain panels together to make a single 100″ wide panel
3. Sew Clip N Wave tape to the new header -VIDEO below- (this is how you get that magical full rippling)
4. Hem the new panel to the correct length (I used this iron on hemming tape)
5. Install the new panels with drapery pins to get that professional look
WINDOW TREATMENT PROGRESS
Sounds easy right? Haha. No. 🙄 It was a lot of work and I roped my husband into helping because there was no way to get it done quickly without him. To make the curtain panels operate more like a drapery you essentially have to remake the panels. You’re really just saving on the material and labor costs with this DIY. One source of relief was not using draperies behind the headboard anymore. They were always awkward to open and close on that window because the bed blocked the area a little.
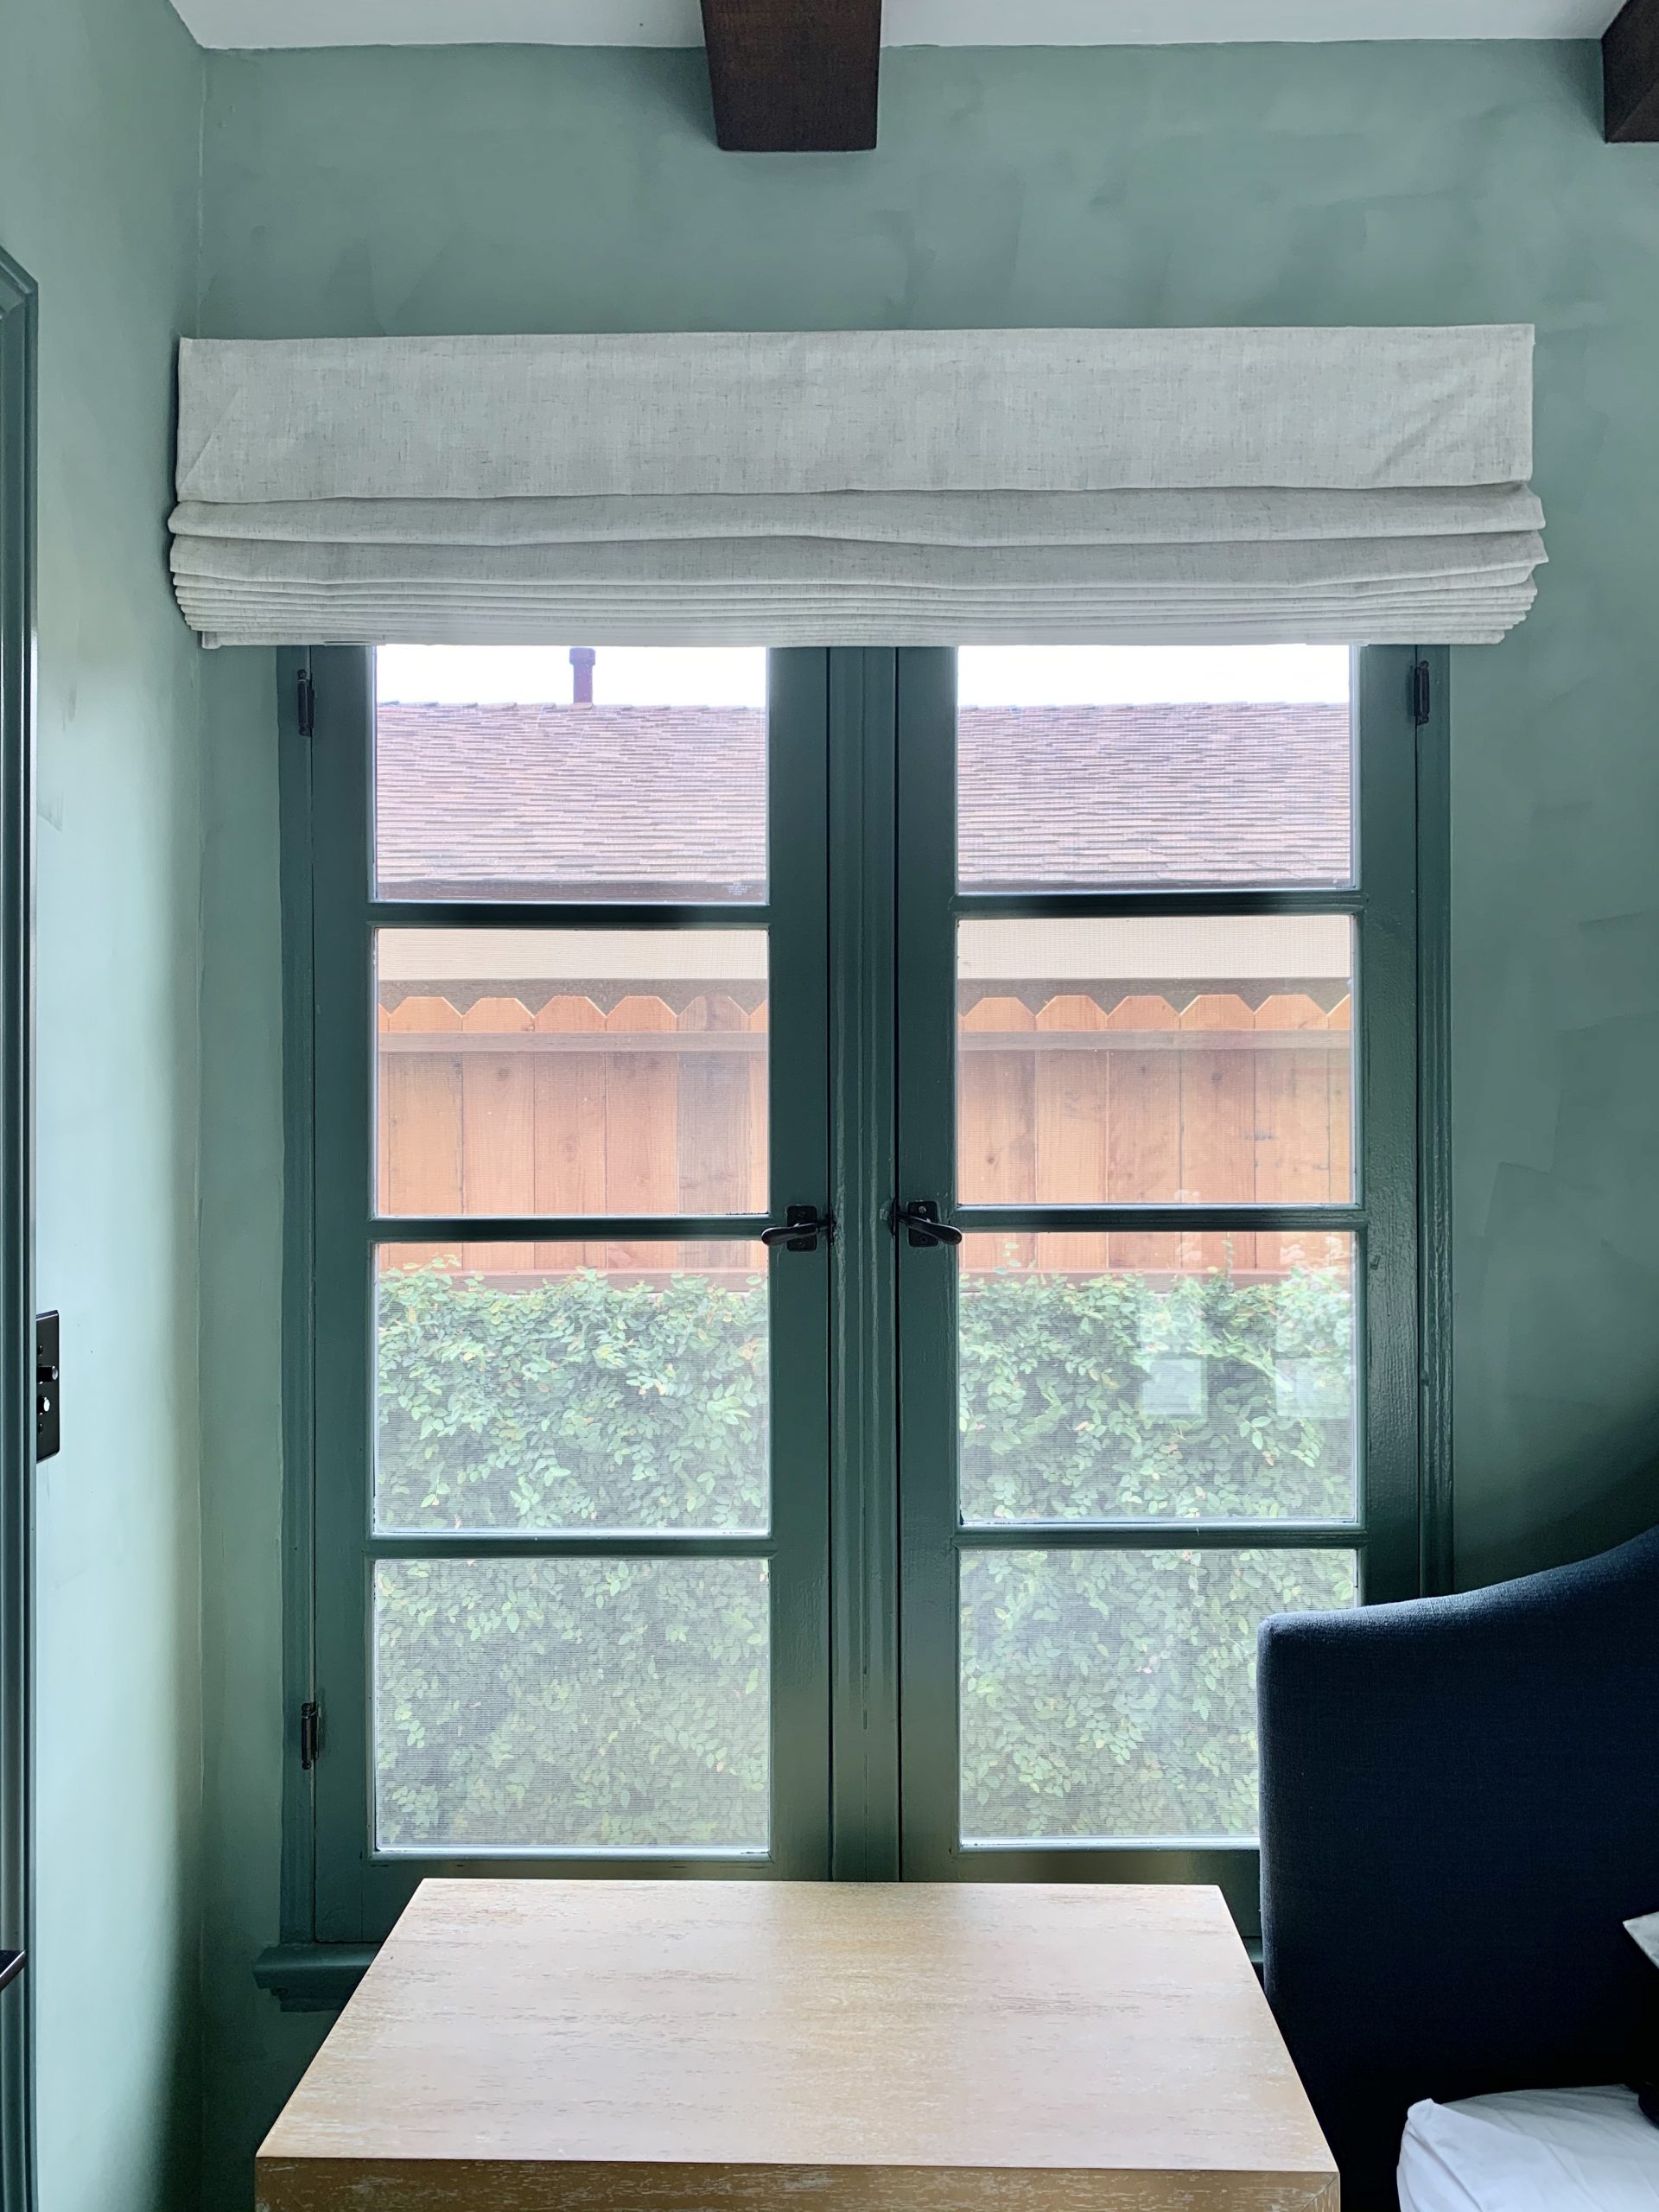
The folks over at Select Blinds gifted a cordless blackout Roman Shade for the window. I’ve used their shades in my house before and for clients on a tight budget. It was the perfect cost-effective solution for a weird space AND they had a fabric that was practically an exact match for my curtain panels. The entire shade was custom made to my specifications. Bam!
THE DRAPERY HARDWARE
Since I saved money reusing my original curtains it was time to upgrade the drapery rods. The original rods fell apart when I took them off the wall at the beginning of the project and they weren’t worth repairing. I decided to pay up on some professional-grade traverse drapery rods made by Kirsch and sold by Drapery Rods Direct. Kirsch is a brand I’ve used for client projects and they’re a trusted industry partner. On my Instagram stories (and now saved in my highlights) I shared how they open and close by pulling a hidden cord. Just like a Vegas hotel room! The window treatments have been all about compromise. Now that I’ve invested in upgraded drapery rods, I don’t have to buy new ones when I can afford to have the custom draperies made in the future.
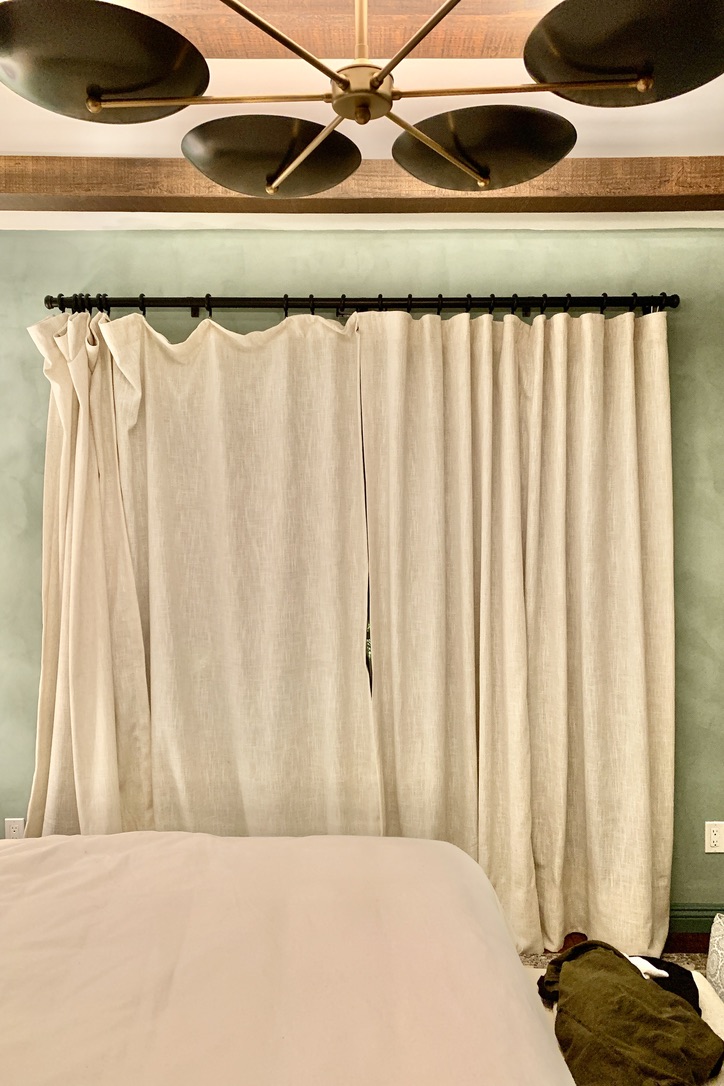
You can see how helpful the new header tape is to create uniform ripples in the fabric so it can maintain the luxurious fullness we all love so much. The panel on the right hasn’t even been steamed and trained yet! The one on the left is the original curtain panel that wasn’t re-worked yet. With a little luck I’ve bought my draperies some more time (and my wallet too).

THE DETAILS
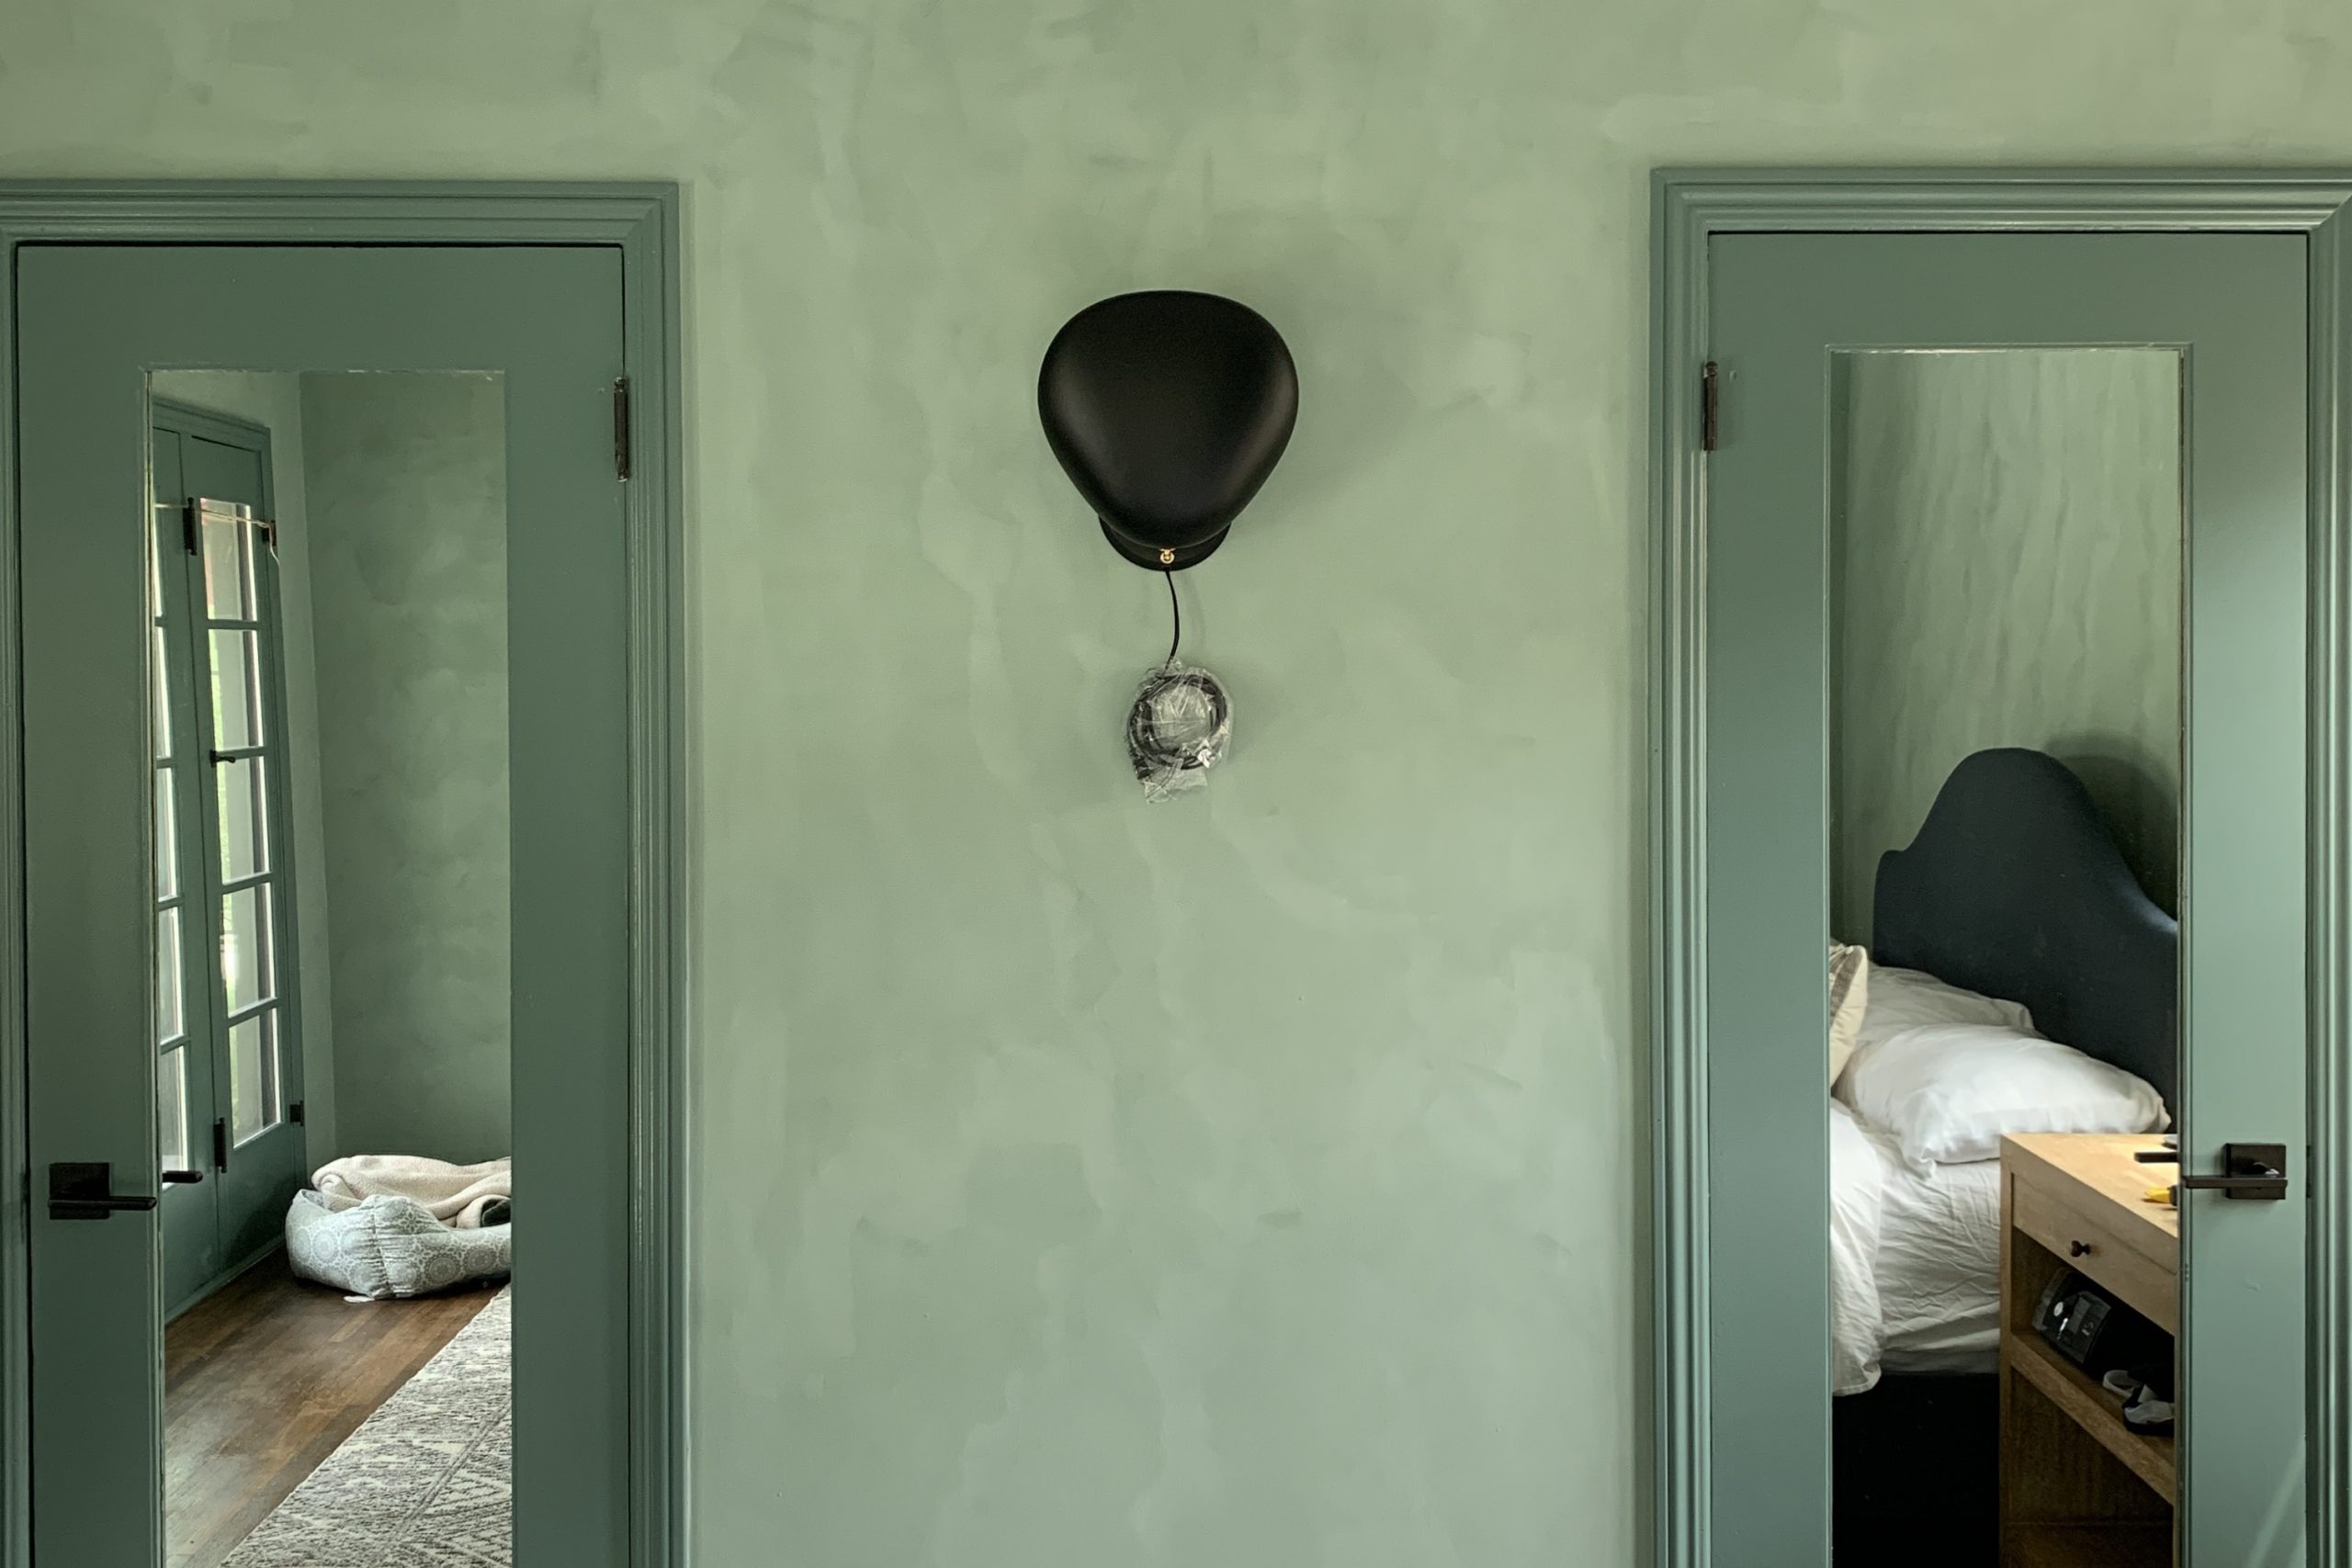
We’re finally getting into more of the details! For me, a room doesn’t start to have life until the special details go in. We’re currently in the process of rewiring this plug-in wall sconce because I don’t like the black cord it came with. I’m thinking I’ll use a natural colored fabric cord so it blends in better with the paint. Another detail that I’ve fallen in love with is the scooped headboard shape, did you spy it in the mirror?
Bringing in the sconce and chandelier had me wanting to balance all that new with something vintage or antique in the closet. Our closet had a cheap builder basic surface mount fixture when we bought the house and my husband has been begging me for a crystal light fixture. He LOVES crystal chandeliers. I think it’s a vestige of him growing up in Atlanta in the 1990s. Whatever… I naturally had very specific criteria for how something with crystal could be introduced into the room. Crystal isn’t usually my style because it conjures images of cheap/fake crystal that we see mass produced. And there are no many gaudy fixtures that just scream nouveau riche.
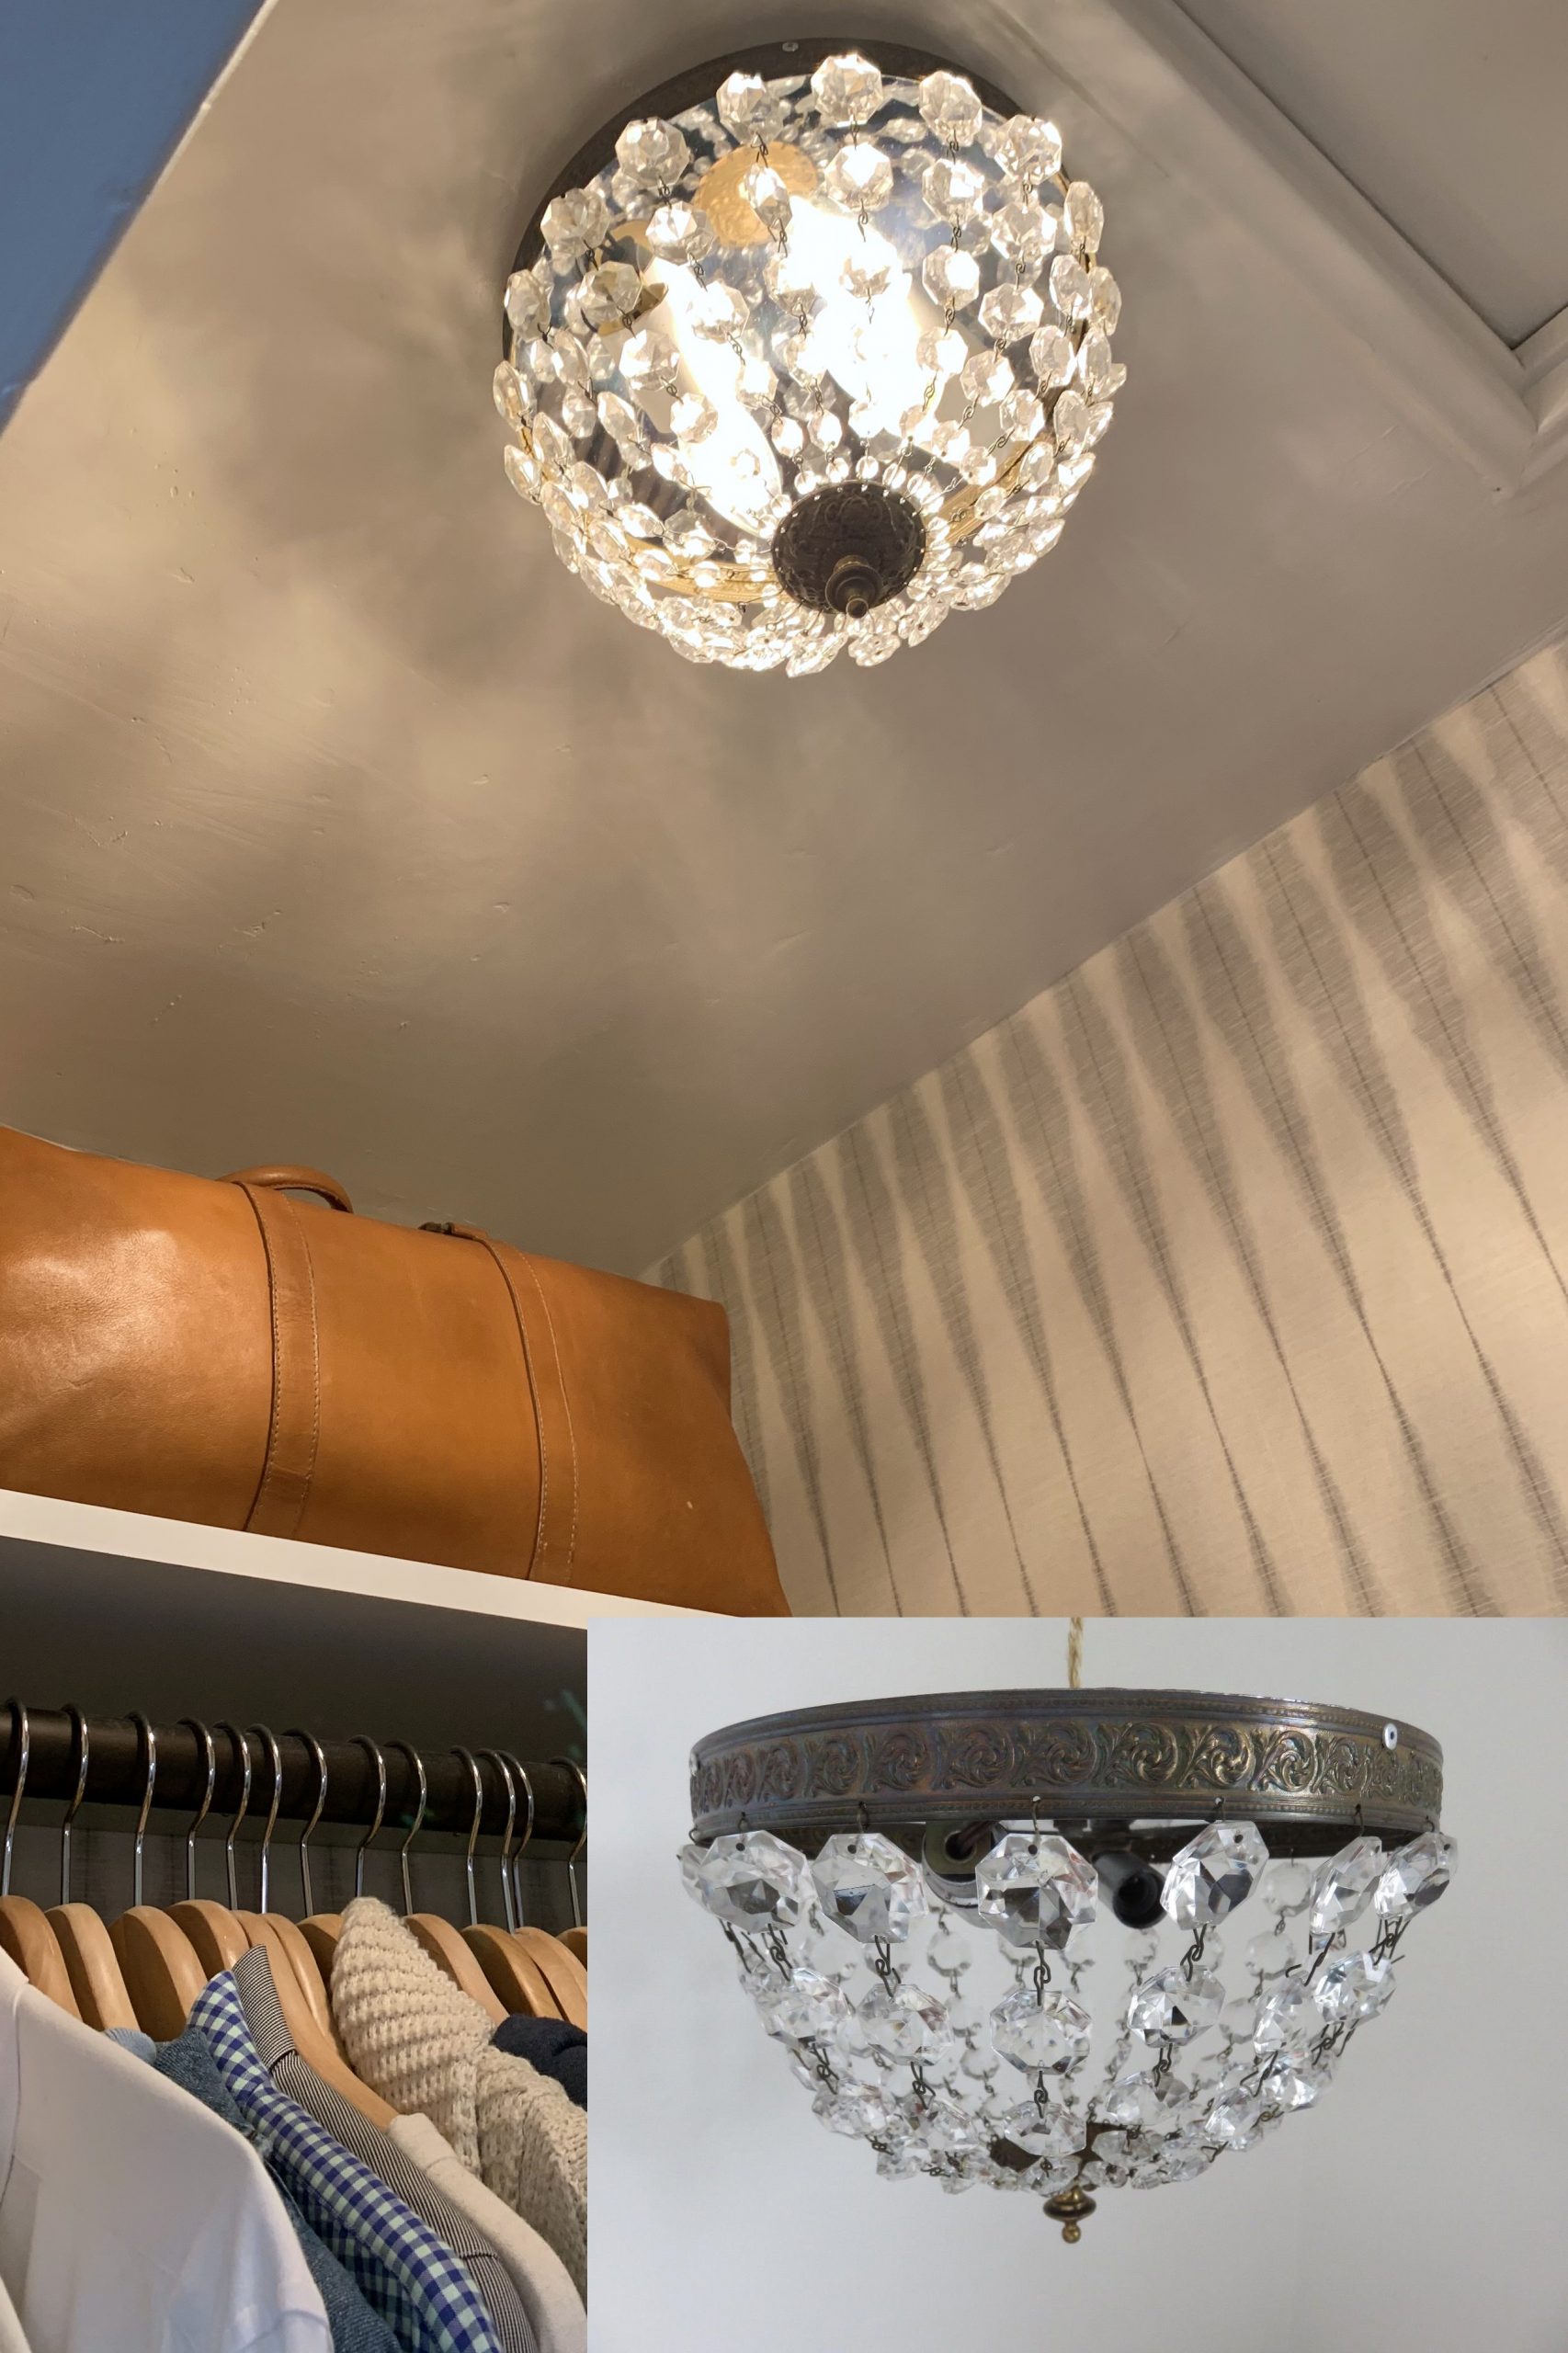
Our closet is so small, that you’ll probably never see a professional photograph of the light fixture. There’s just no artful way to capture the ceiling unless you’re at the same angle I took this photo from which is not the business. Sean scoured Etsy for the perfect fixture until he spotted this French beauty from the 1930s. After having it shipped from France and a little rewiring work we were ready! The picture from Etsy does it more justice than my photo since you can see more of the detail and I love the reflection it throws at night. And while I can’t help you with the same light fixture, I found this one that is a close alternative.
WHAT’S LEFT
It might seem like there’s not much left to do, but there is! We’ve still got to:
Decide what to do with my dresser (still!)
Frame and install artwork and…
Accessorize with final styling!
MY WONDERFUL ONE ROOM CHALLENGE SPONSORS AND COLLABORATION PARTNERS:
Faux Wood Beams by Barron Designs
Rug by Jaipur Living
Pillows & Throws by Pom Pom At Home
Limewash Paint by Portola Paints
Roman Shade by Select Blinds
Nightstands by Wisteria
DISCLAIMER: Wrensted Interiors contains some contextual affiliate links. I only recommend products or services I use personally and feel my readers will enjoy. All opinions are 100% mine.