There’s just one week left for the One Room Challenge, one short week until we can show you the completed laundry room. We’ve still got plenty of work to finish, so keep reading to see the final progress post before the full reveal.
If you’ve found yourself behind on the challenge, I’ve got you covered with previous weeks: Week 1 (design plan and before images), Week 2 (demo, electrical, and the new skylight), and Week 3 (paint, utilities, and starting cabinets), and Week 4 (countertop, wainscot, more cabinets, and backsplash).
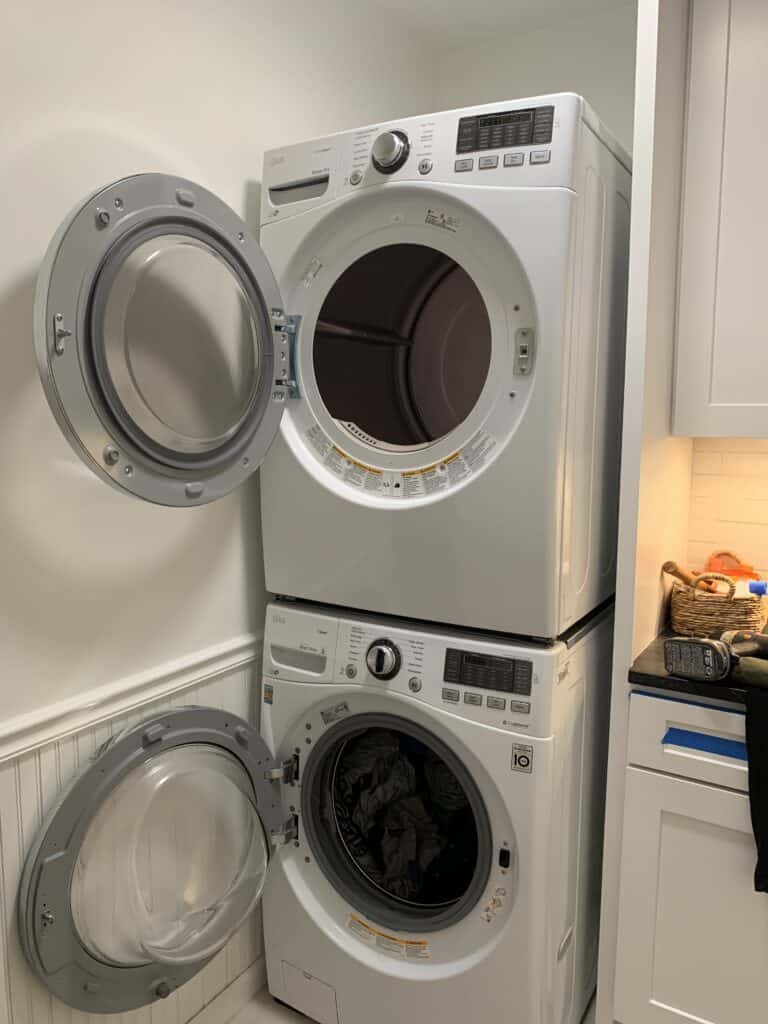
Week 5 is all about the details. At the end of Week 4, I just had to get the washer and dryer reinstalled, because I needed to do laundry so badly! My husband and I were able to install the stacking kit and lift and secure the dryer in place before sliding it into its new home. The dryer door used to hinge on the right-hand side which was going to make it super annoying to unload clothes onto the new countertop for folding. If you were following along with my Instagram stories then you saw a little of this process, but if you missed it I saved everything into my ORC Laundry highlights. I planned the layout of the laundry room knowing I would have to change the door swing, so if you’re planning your own project make sure it’s possible before you start. You usually can’t change the swing of your washer door, but most dryers have this capability.
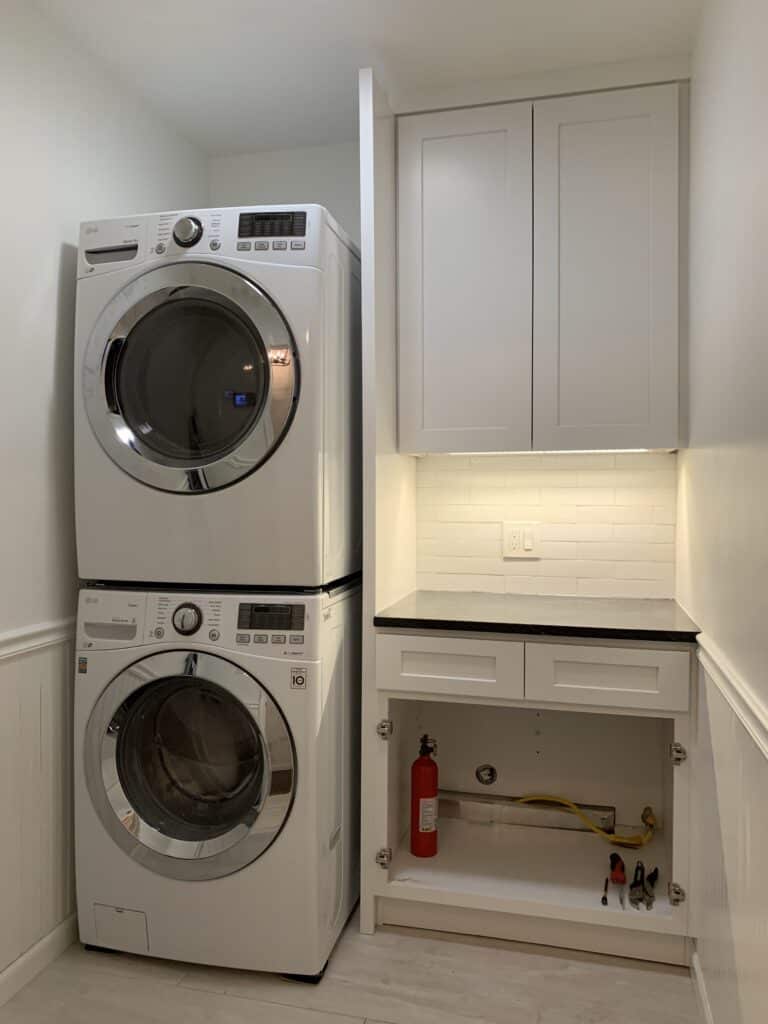
One addition I haven’t spent too much time talking about is the new under cabinet light. I was able to install this myself since it’s a plug-in LED light bar. It simply plugs into one of the new outlets inside the upper cabinet and has two brackets to hold it onto the underside of the cabinet. It was super quick and easy to do, and we even had our electrician link the outlet to a dimmer switch. Yes, that’s right! Dimmable under cabinet light, which is great for those Sunday evenings when you’re trying to wind down while folding your laundry instead of turning on bright overhead lights. I’ll share the source for the exact fixture I used in the coming weeks so be sure to check back.
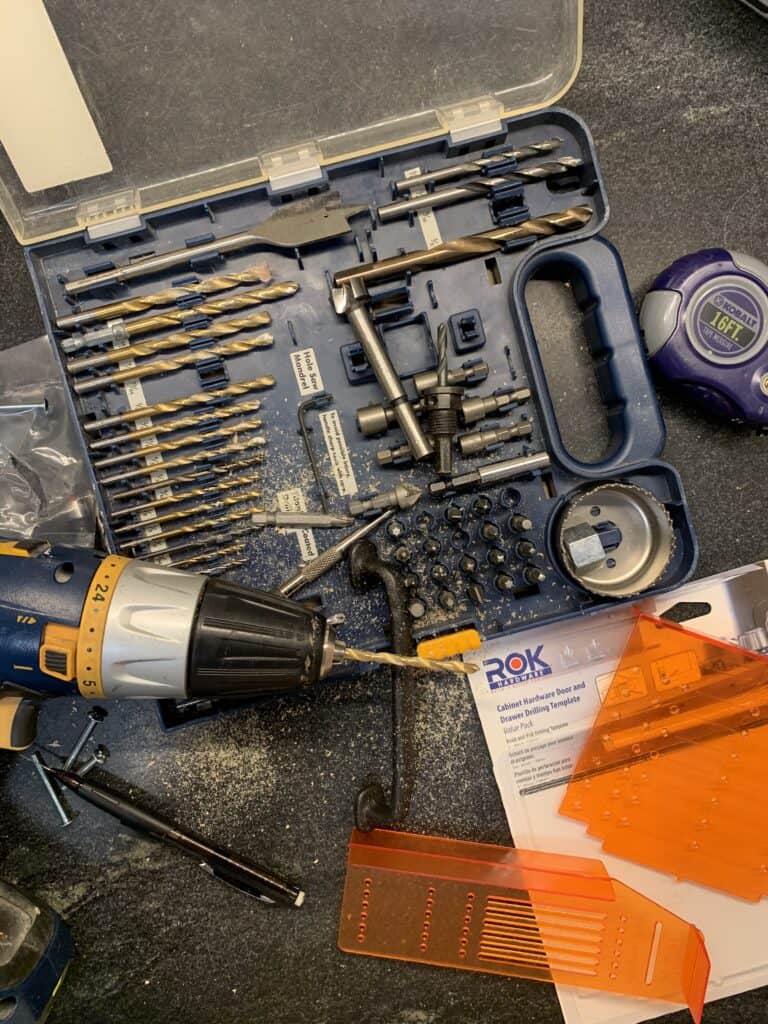
Once the lighting was installed I set my mind to installing the iron cabinet hardware. This is one of those things where you really don’t want to be rushed because you’ll make mistakes. When it comes to drilling cabinet hardware, you really only get one shot to get it right. The best thing I’ve found is using a drilling template like this one so you can make sure every cabinet matches. You still need to measure everything and find center lines, but it makes your work much easier. Are you asking why I didn’t have the handyman do this? To be perfectly honest, I could have, but I get so much satisfaction out of doing it myself. If you can’t handle the risk of messing it up, then definitely have someone experienced do it. Sometimes when I have smaller client jobs where a contractor or cabinet maker is less involved, I will have our professional art installer do the cabinet hardware. They tend to have a good eye and skill for this kind of task.
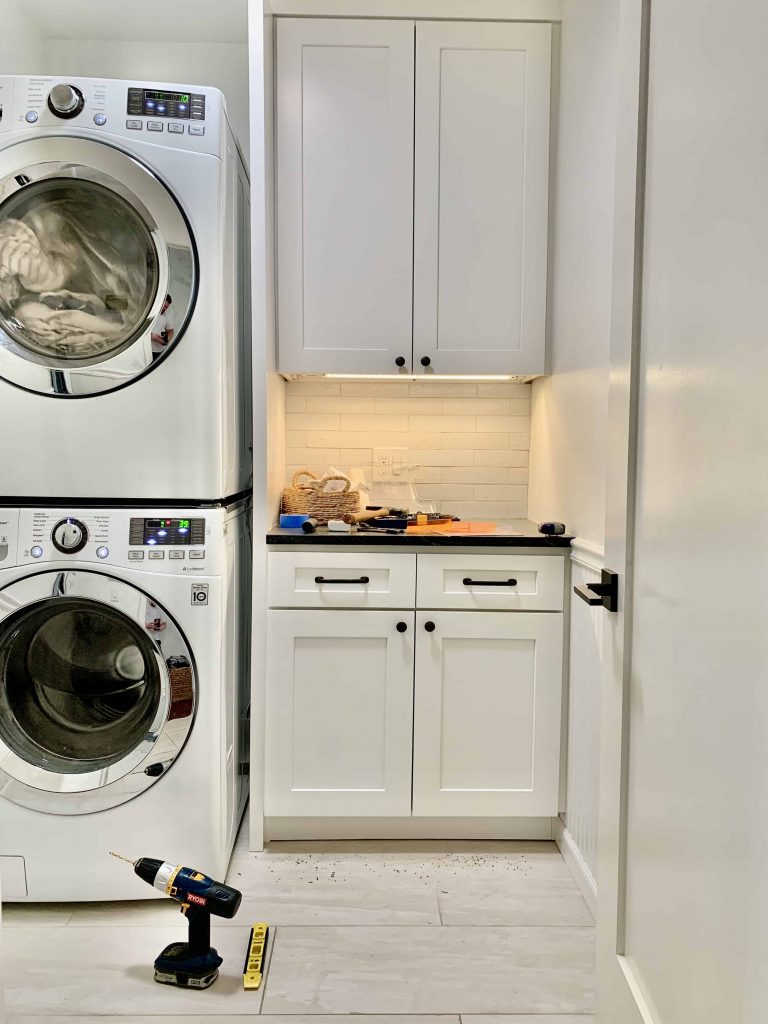
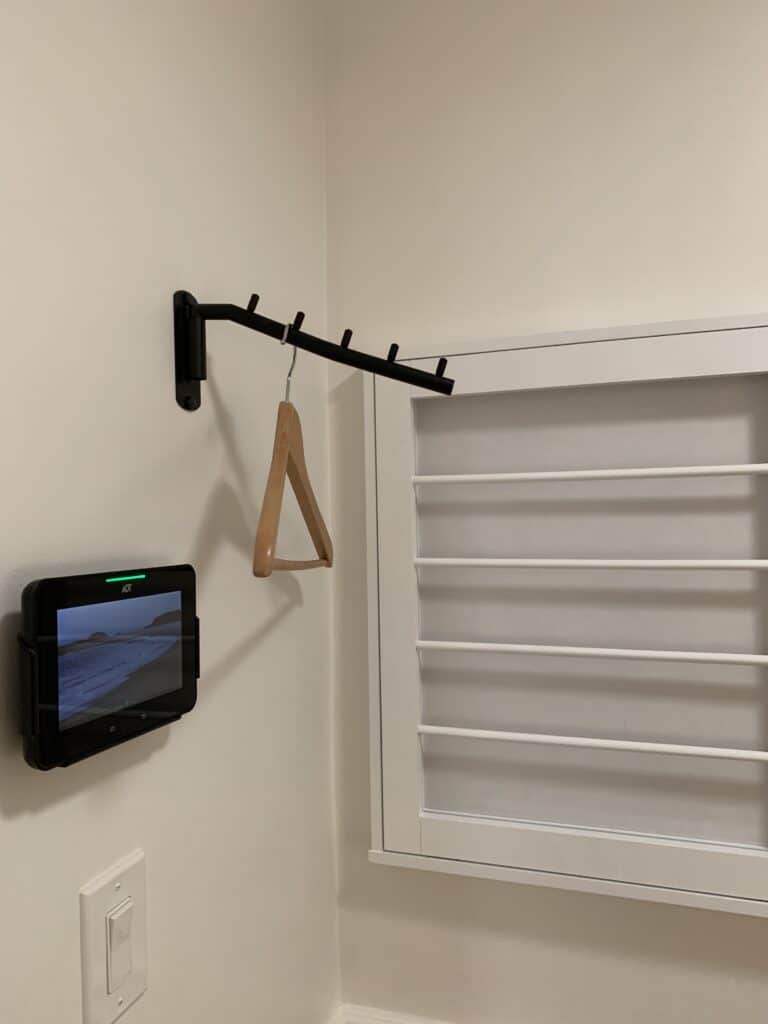
Doesn’t the iron look ba-na-nas with the soapstone counter? That contrast of the black hardware against the white cabinets makes me so happy. Speaking of things that make me happy, I also got our drying rack mounted to the wall. We always have things that need to air dry before they go into a hamper, like kitchen handtowels and gym towels. We’ll also use it for more delicate clothing that can’t be tumble dried, so this wall rack will get tons of use. I even snagged an iron valet hook that folds flat against the wall when it’s not in use which is perfect to get things hung up as soon as they pop out of the dryer.
So what’s left? I’ve got a few paint touchups after all the installations and maybe a few Magic Eraser touchups too. I’m going to treat the soapstone with mineral oil a few more times and seal the backsplash. Finally, I’m going to reinstall our tech in the upper cabinet and get the room styled to shoot. I’m already exhausted just thinking about it.
I’m hustling to get this room done so I can bring you the final reveal next Thursday! In the meantime, the other designers are just as close to finishing so don’t forget to click the logo below to see their work.