So much has happened in the two weeks since my last master bedroom update. Last week was the right time to take a break from blogging and posting to focus on the Black Lives Matter protests. It was an important time for me to listen, learn, and have dialogues with friends and family. There’s still so much work to be done and I’m committed to that for the long haul. In the last two weeks my Dad had some urgent health concerns that required hospitalization. I posted on my Instagram stories that my Dad is staying with us while he recovers and prepares for next steps with his doctors. Navigating that fine line of being a son/caregiver/family liaison hasn’t been easy, so if you all have advice, resources, or recommended reading I’d love to hear them in the comments below.
Shall we dig in to a combined Week 5 + 6 update on the master bedroom makeover? We’re now into that phase of a project where it felt like nothing was happening for a while and then BAM! – suddenly there’s so much going on and it’s hard to keep up.

If you clicked through from the ORC site, howdy! I’m Shaun Crha (sir-ha), an interior designer in Long Beach, CA. You can see my previous One Room Challenge renovation here. My husband, Sean, and I are currently renovating our 1930 Spanish bungalow – the Crhacienda. Get it? Because my last name is Crha! 🙄🤣 We’ve already finished the following spaces: our dining room, laundry room, front garden, and a completely new guest house (the Casita). Thank you for joining us as we tackle our master bedroom makeover! If you’re trying to catch up on everything be sure to visit my Week 1 post (before pictures, inspiration, and moodboard), Week 2 (design plan, progress, design concept), Week 3 (the master closet plans, trim paint progress, the great dresser debate), Week 4 (master closet progress, wallpaper, marble dresser top, custom window).
LIME WASH
I partnered with Portola Paints to provide the lime wash paint for the room, and they also gave me their lime wash primer with it. I dragged my feet starting to paint the walls because I really don’t like painting. It also seemed like every time I was ready to start I noticed more spots to patch or fill. In the end, I didn’t need to be such a perfectionist because the lime wash camouflages imperfections in our 90 year-old walls so well.
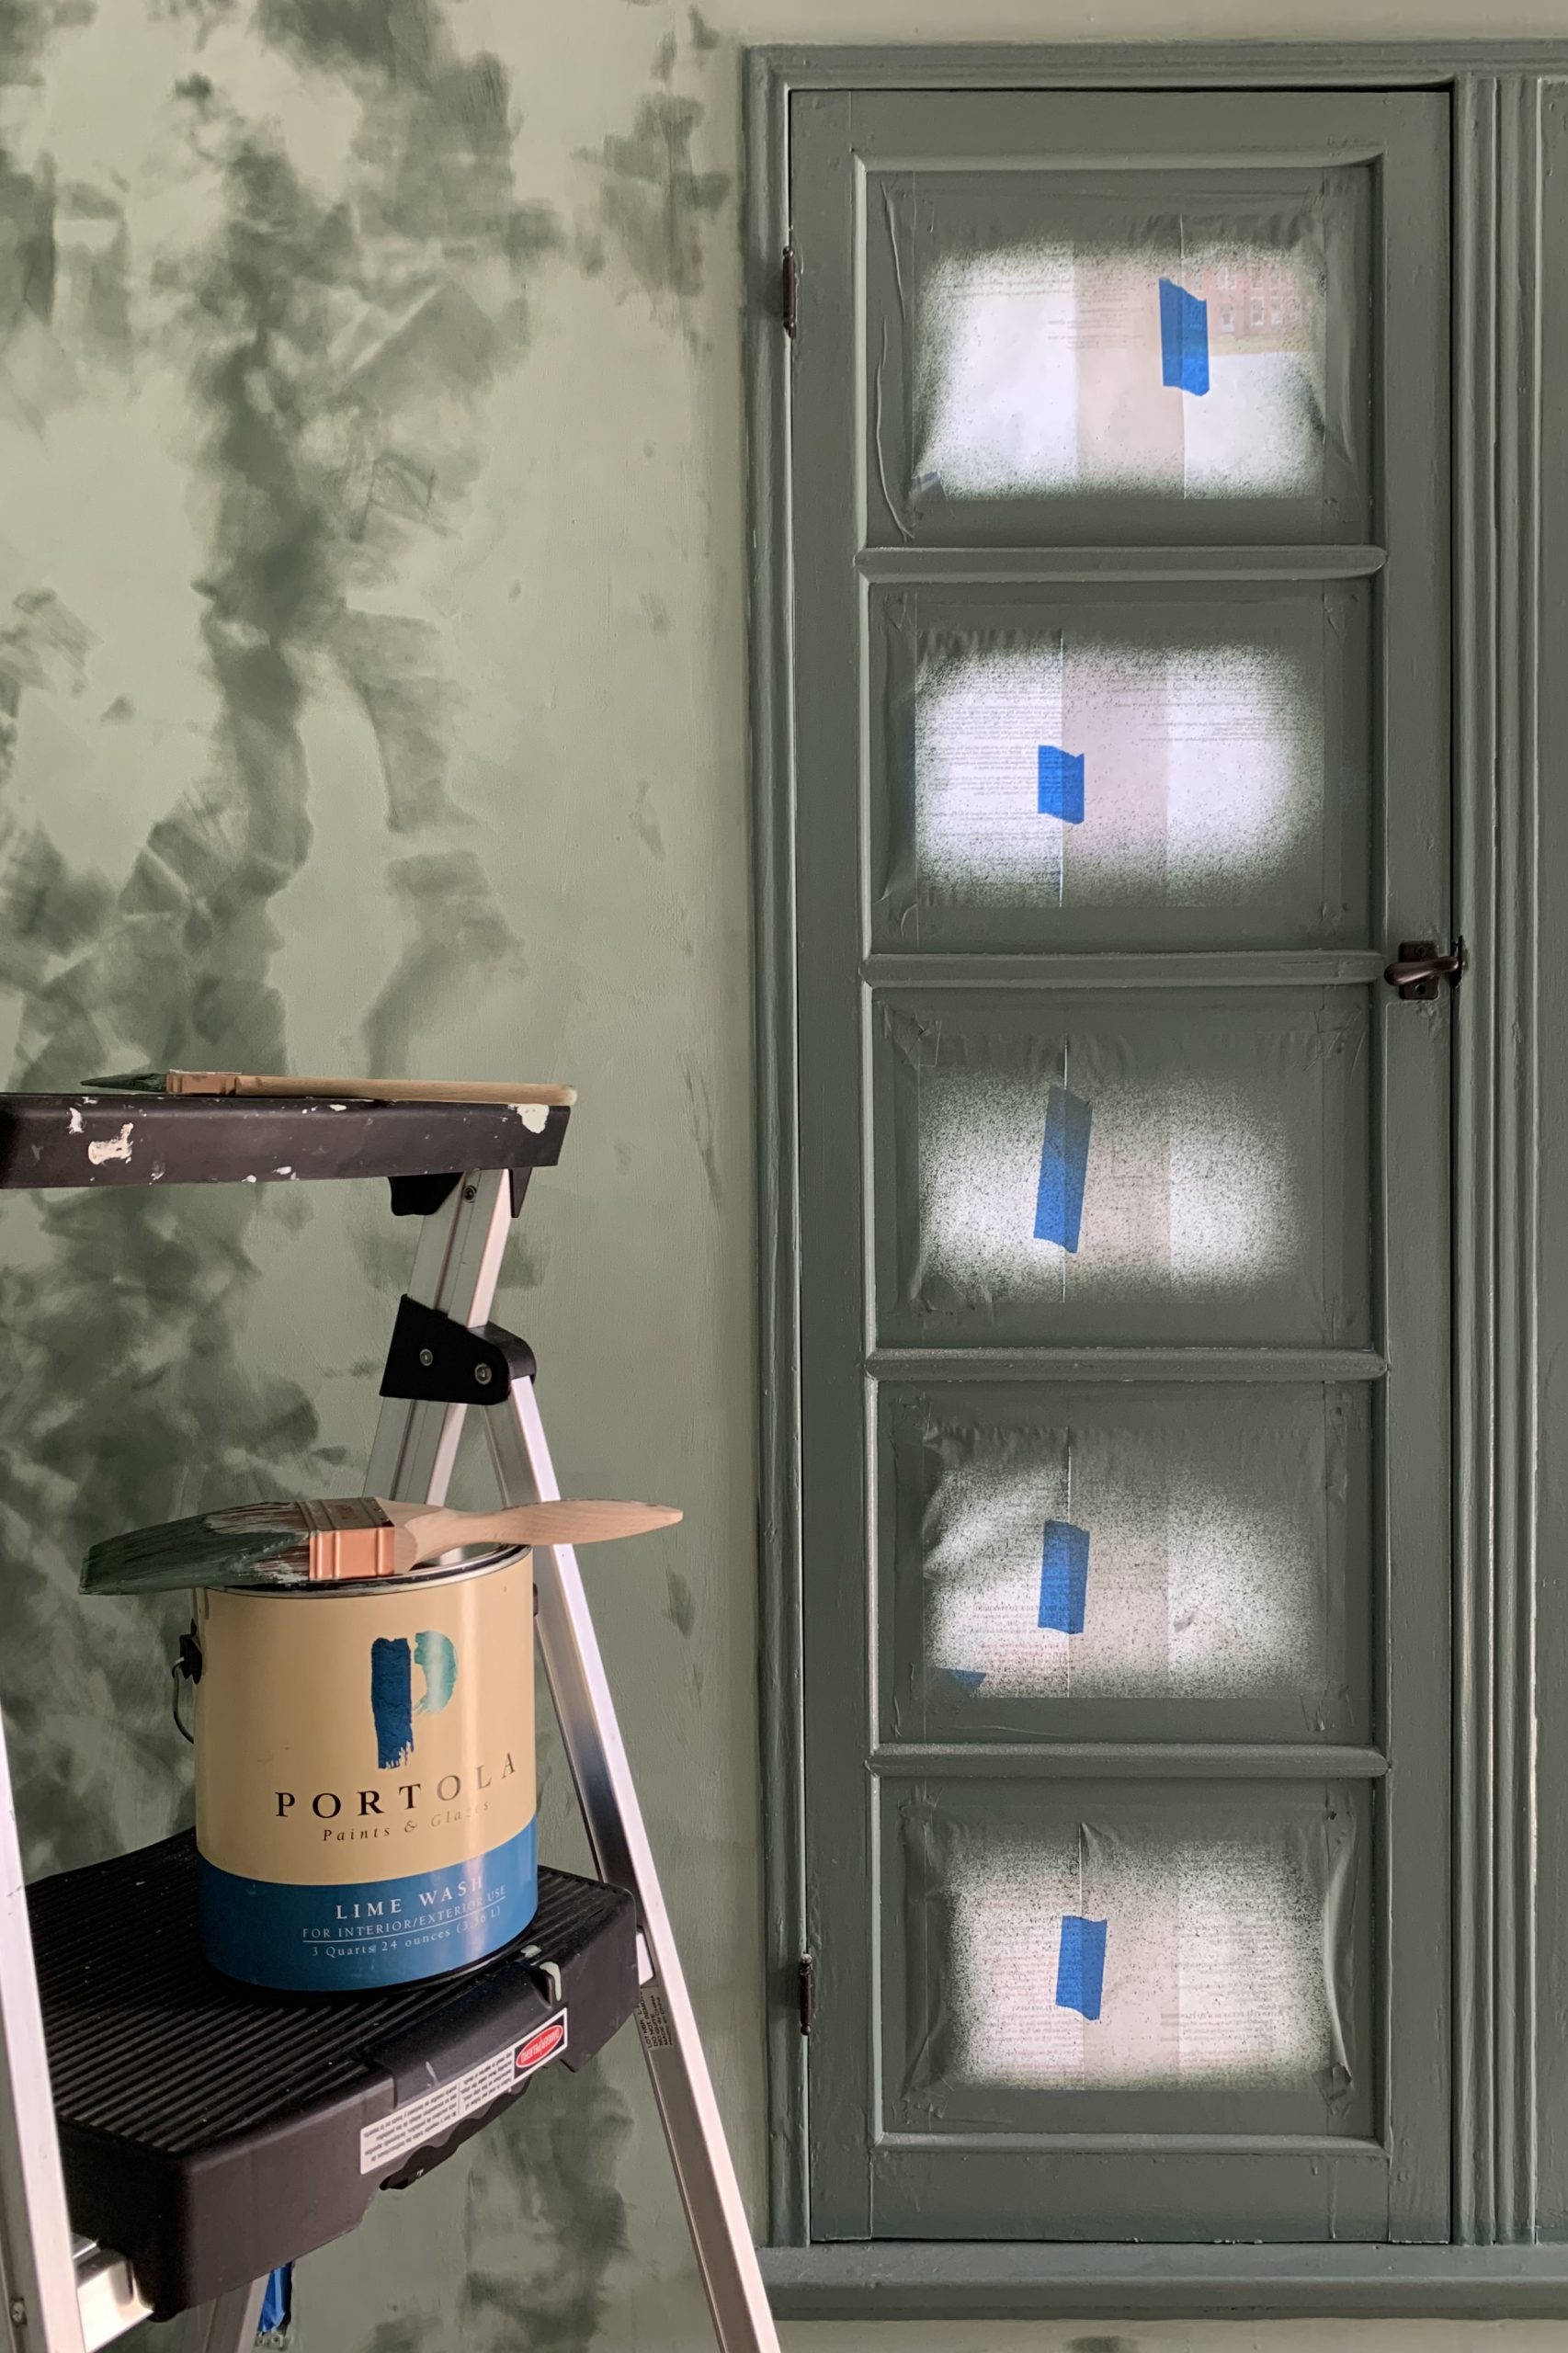
Jamie at Portola warned me that the first coat of the lime wash wouldn’t be a good indication of what it would look like after the second coat. Down below you can see how thin the first coat goes on with the primer showing through. It wasn’t until the second coat that I got to see what the final color would look like. I’ll talk more about the lime wash in a future post. It has been one of the most transformative elements to give the design an old world energy with texture and depth of color.
LIGHTING
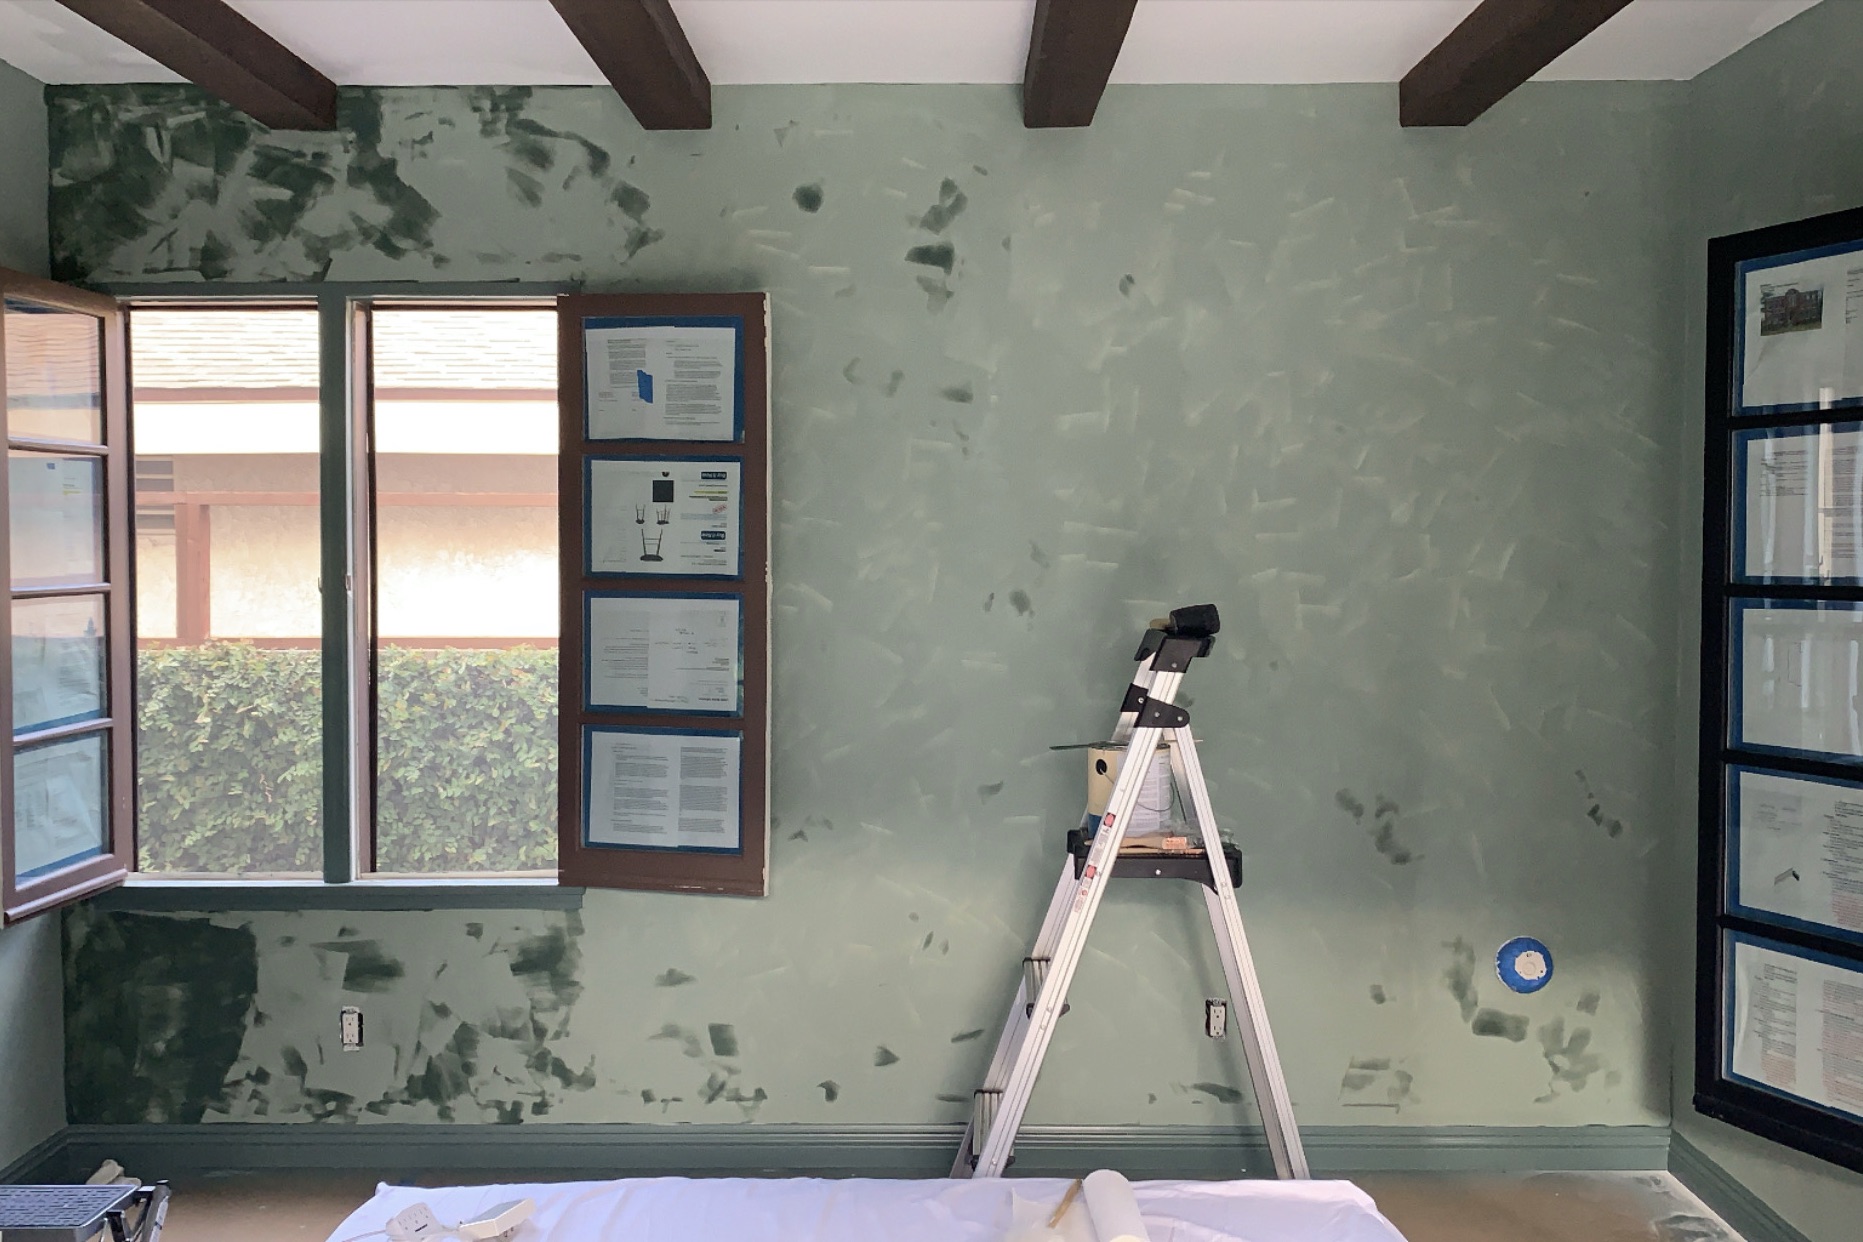
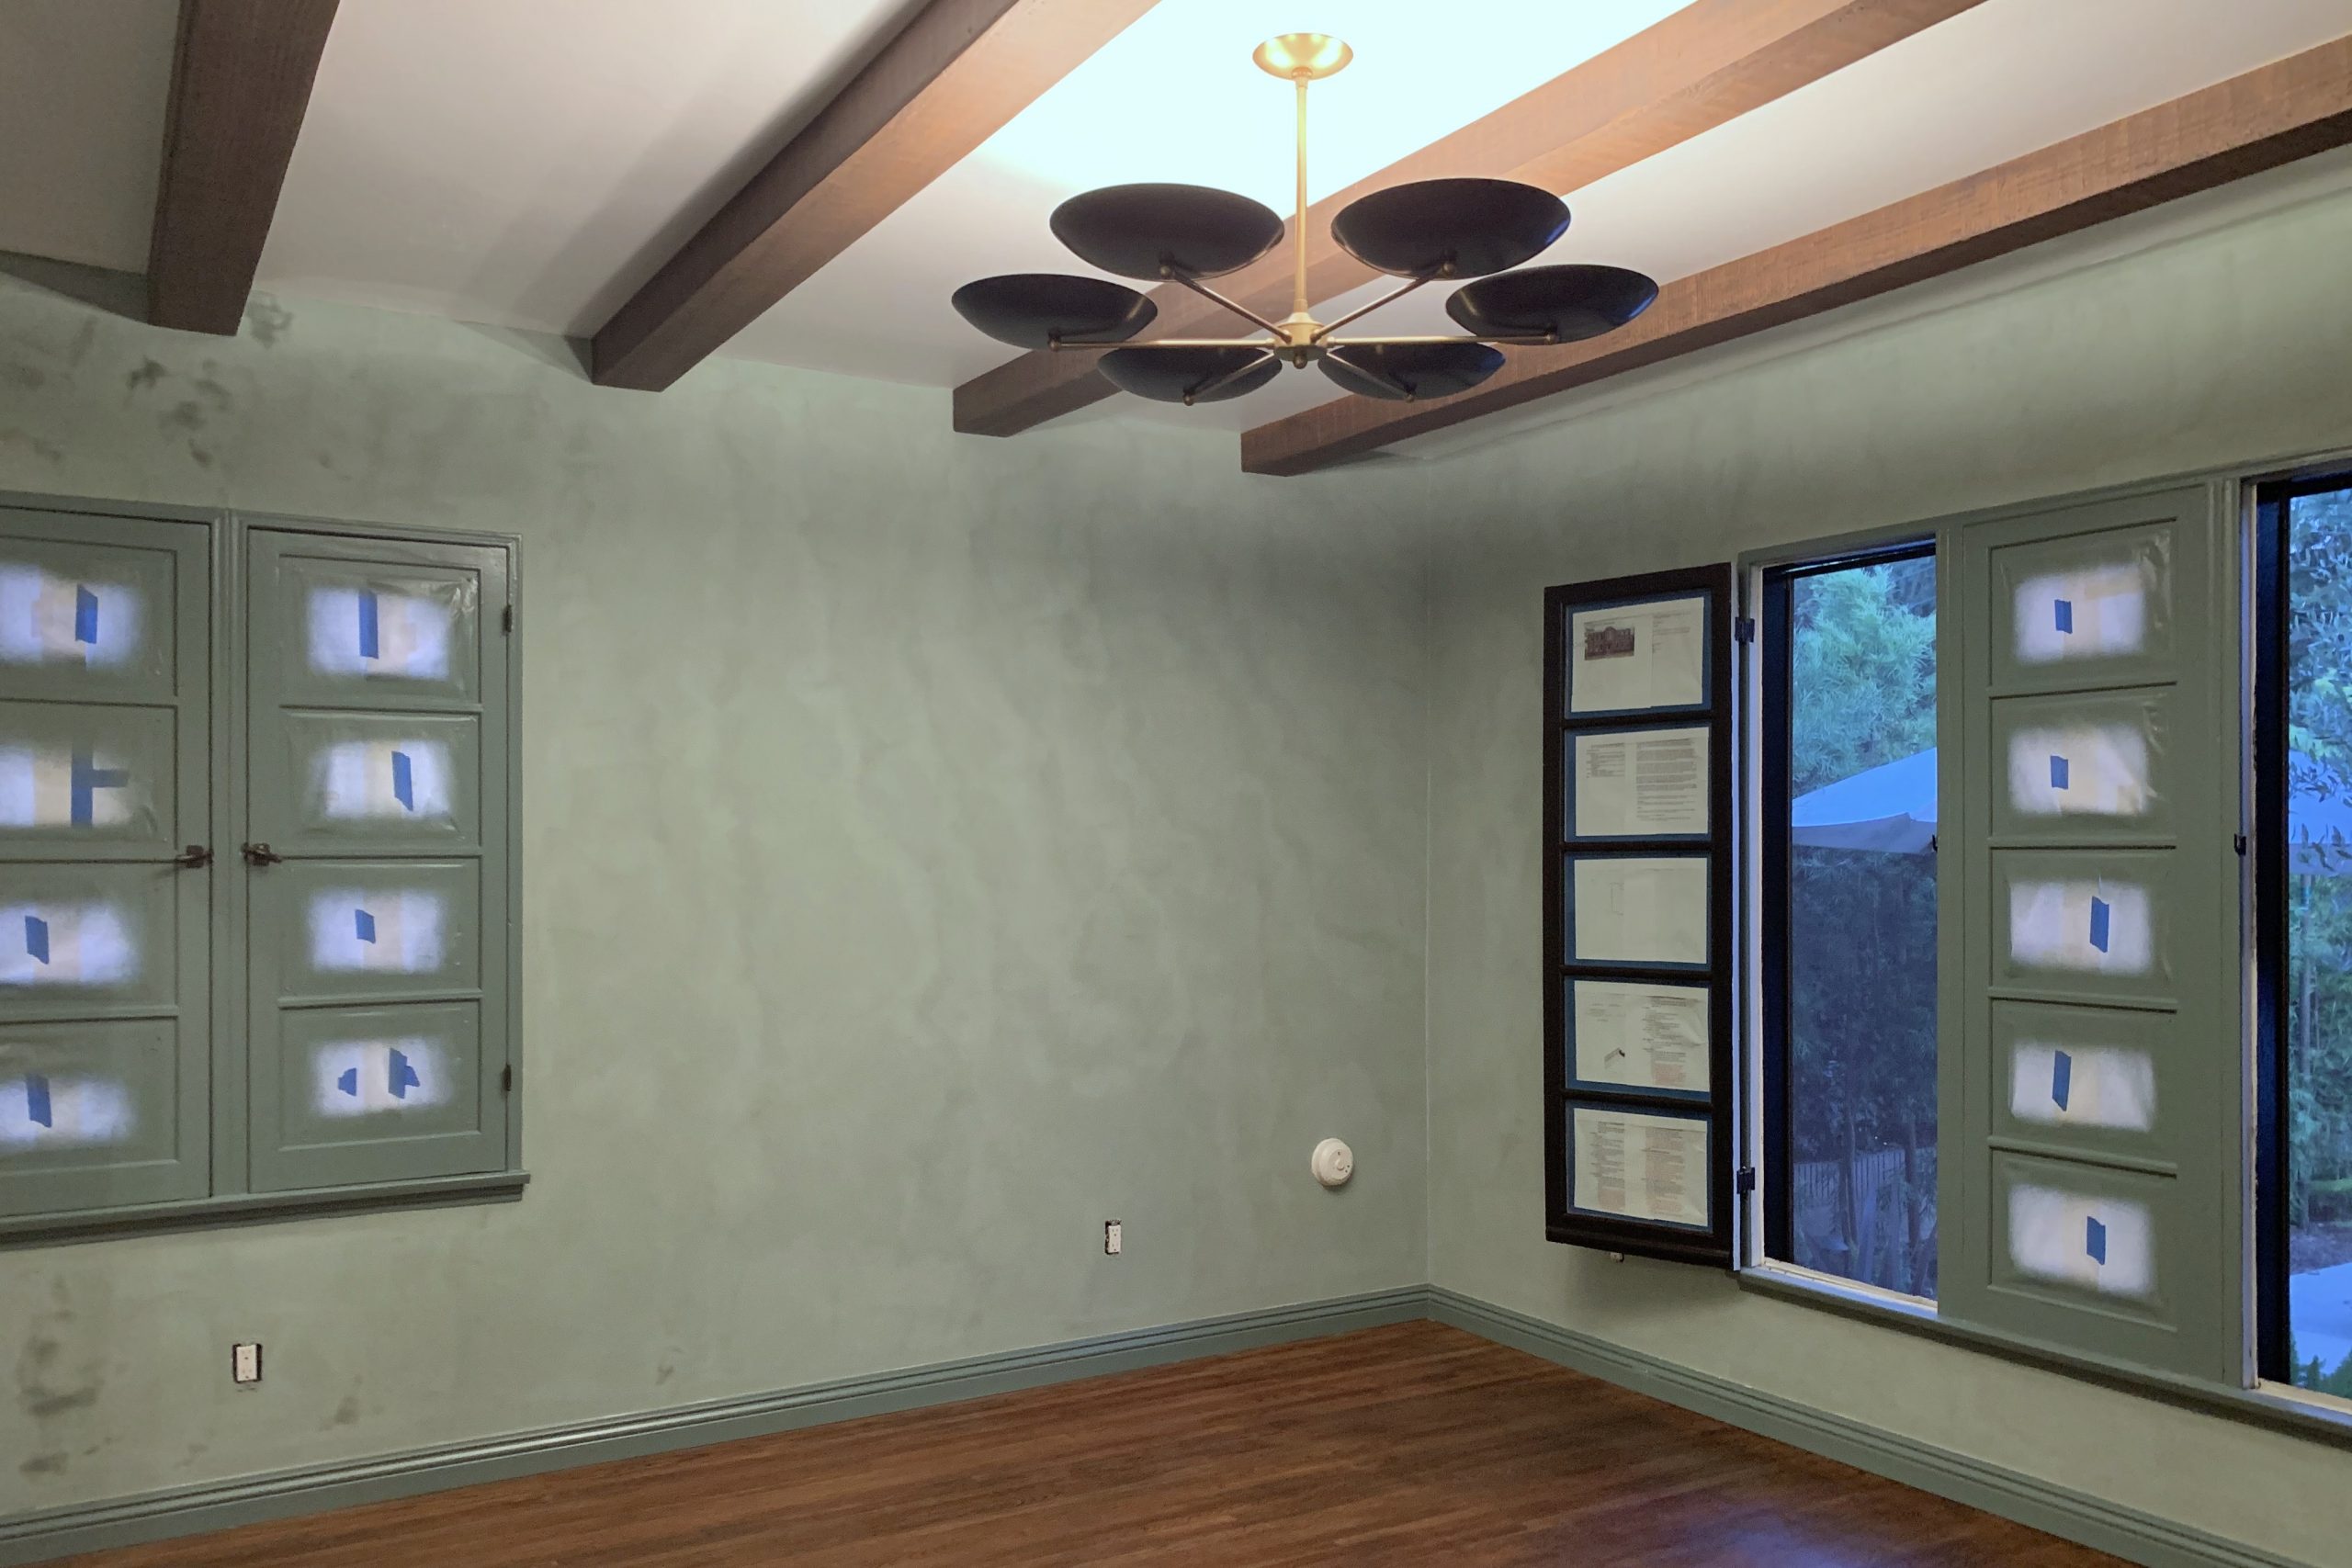
Don’t judge the lime wash by this photo since it was still drying and the lighting isn’t great. Since then so much nuance in the color and finish has come out. With the paint done we finally pulled back the paper on the floors and installed our new chandelier! Can you even?! I love the subtle art deco vibe of this Arteriors fixture (#ipaidforthis #nonspon). I firmly believe that the right lighting elevates a room and is worth the investment.

THE DETAILS
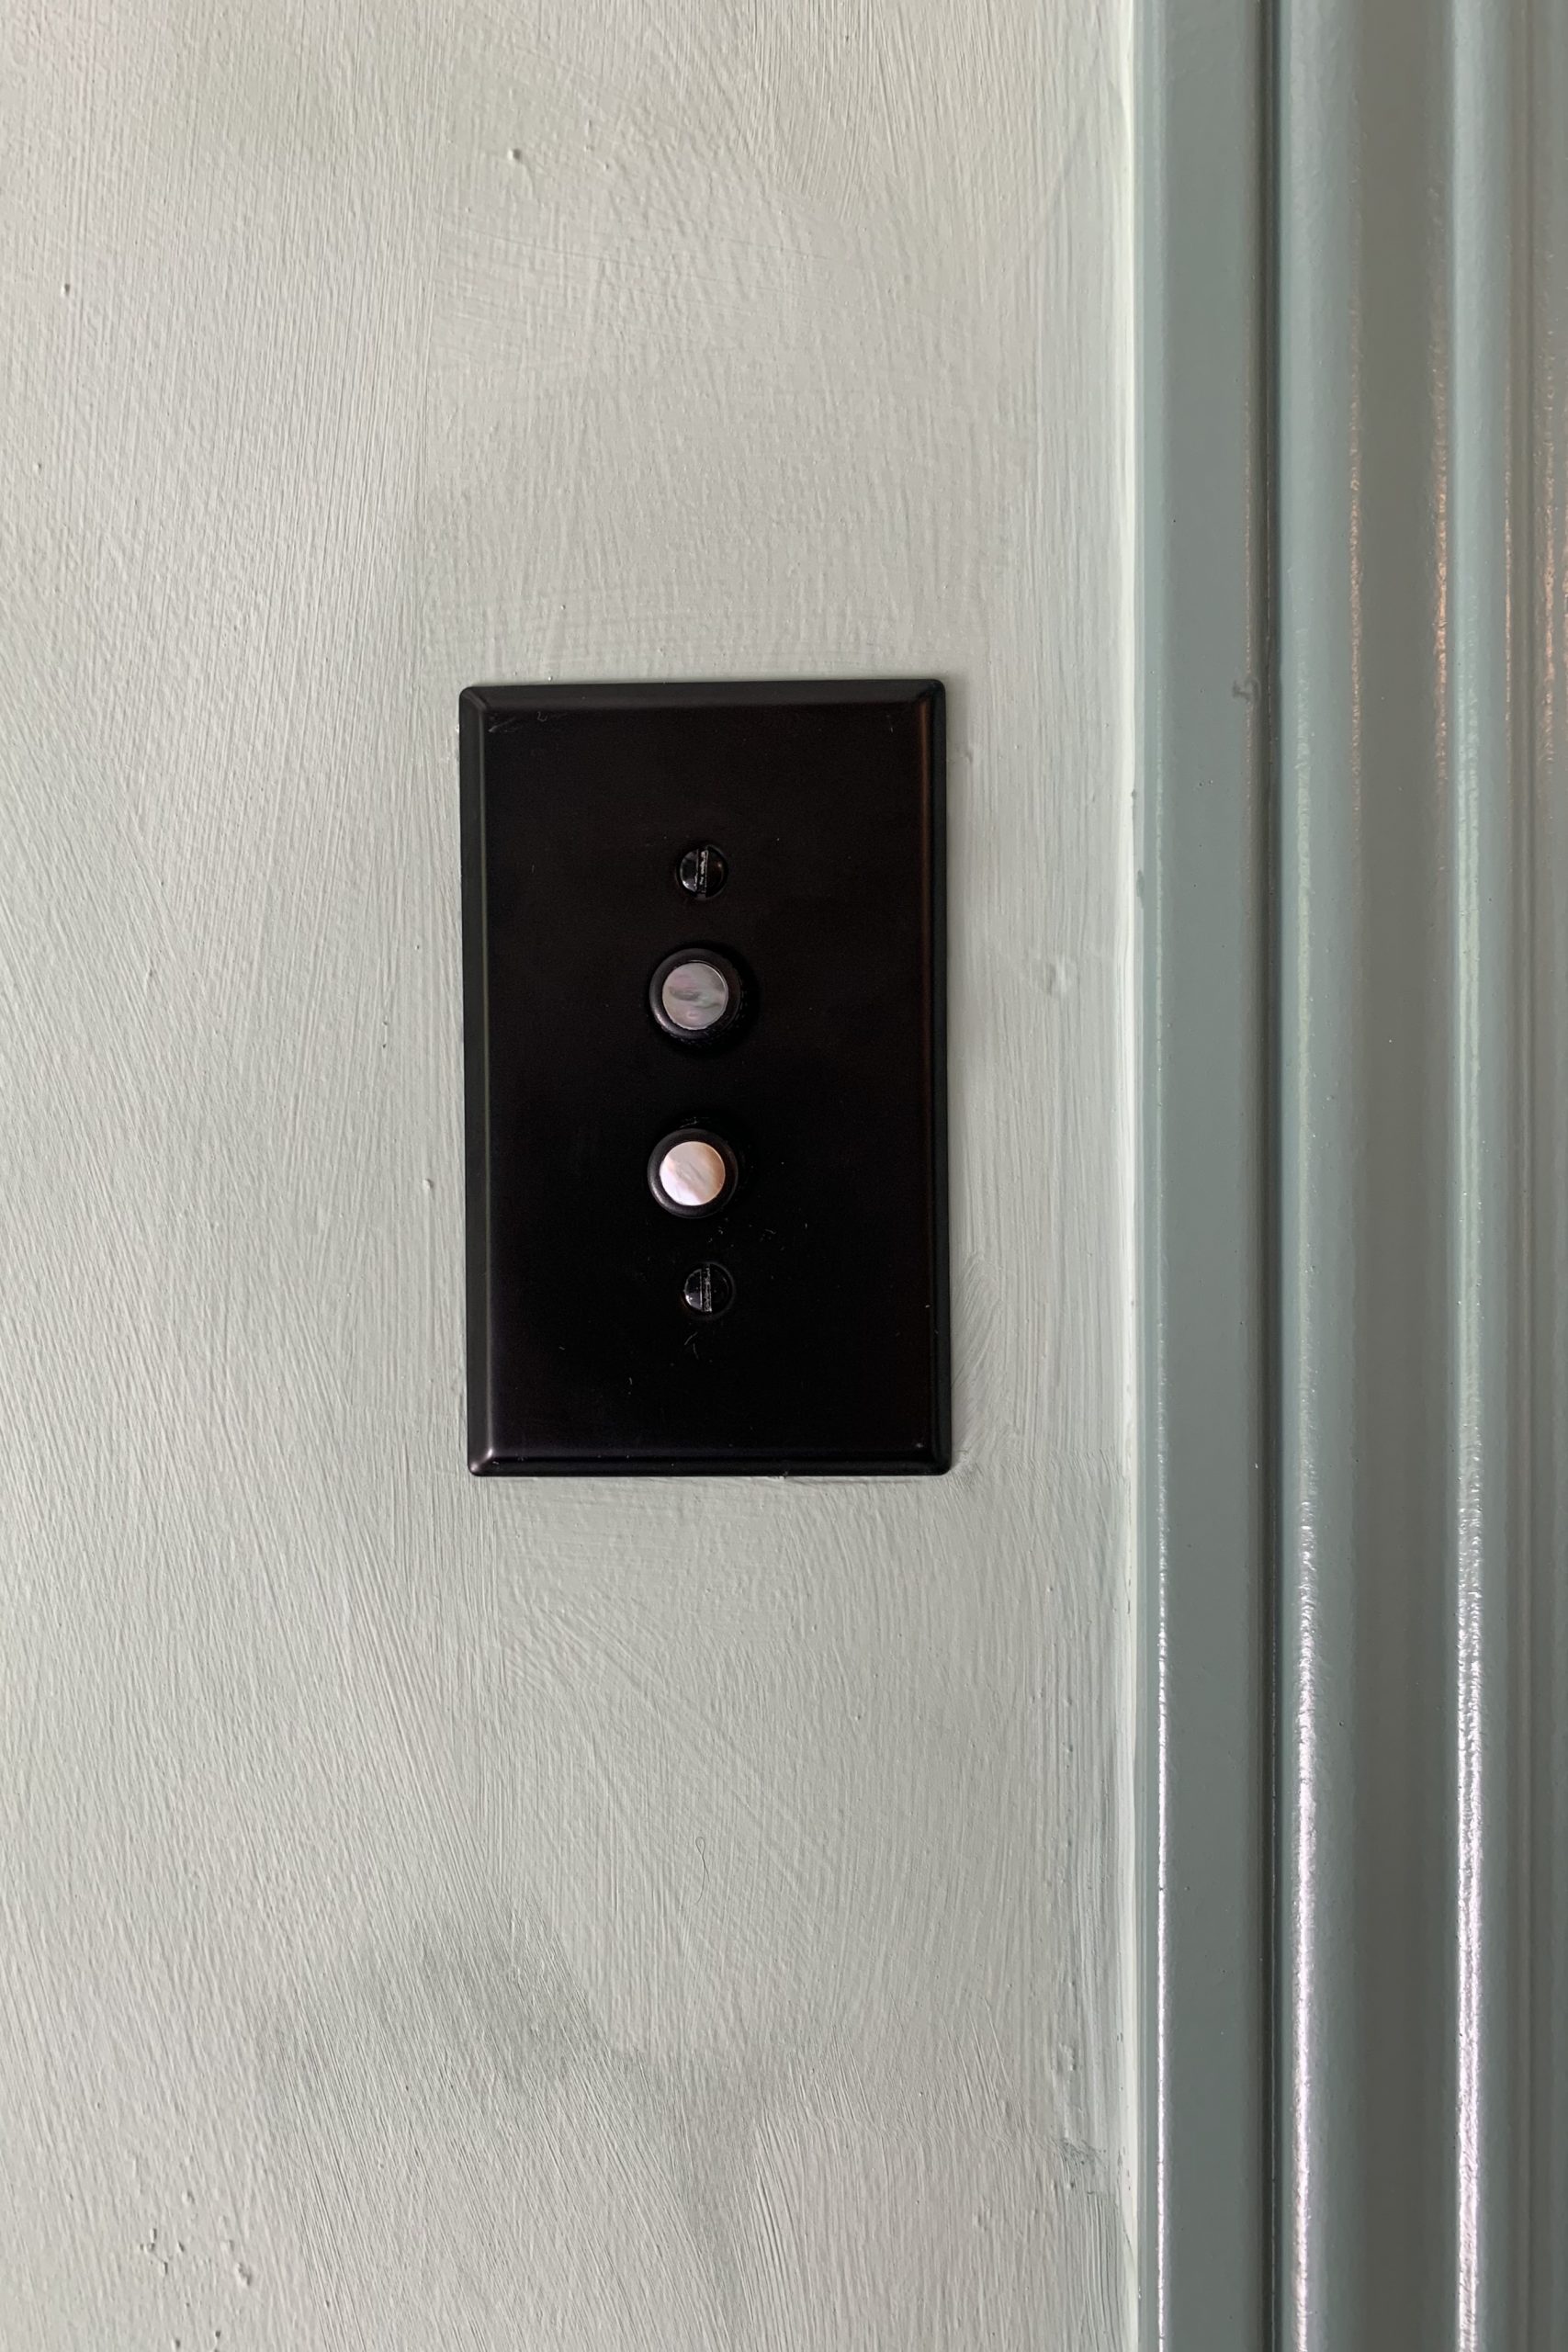
Something else that was worth the investment was upgrading our standard white plastic switches to these these vintage-style push-button switches. I love that the black finish ties into the lighting and the mother of pearl cap has a gorgeous iridescent quality that reflects the colors of the room. We’ve slowly been upgrading to these switches as we work on rooms in the house. They add that extra detail that feels really intentional in the master bedroom makeover to keep it in-line with the history and character of our home.
OOPS…
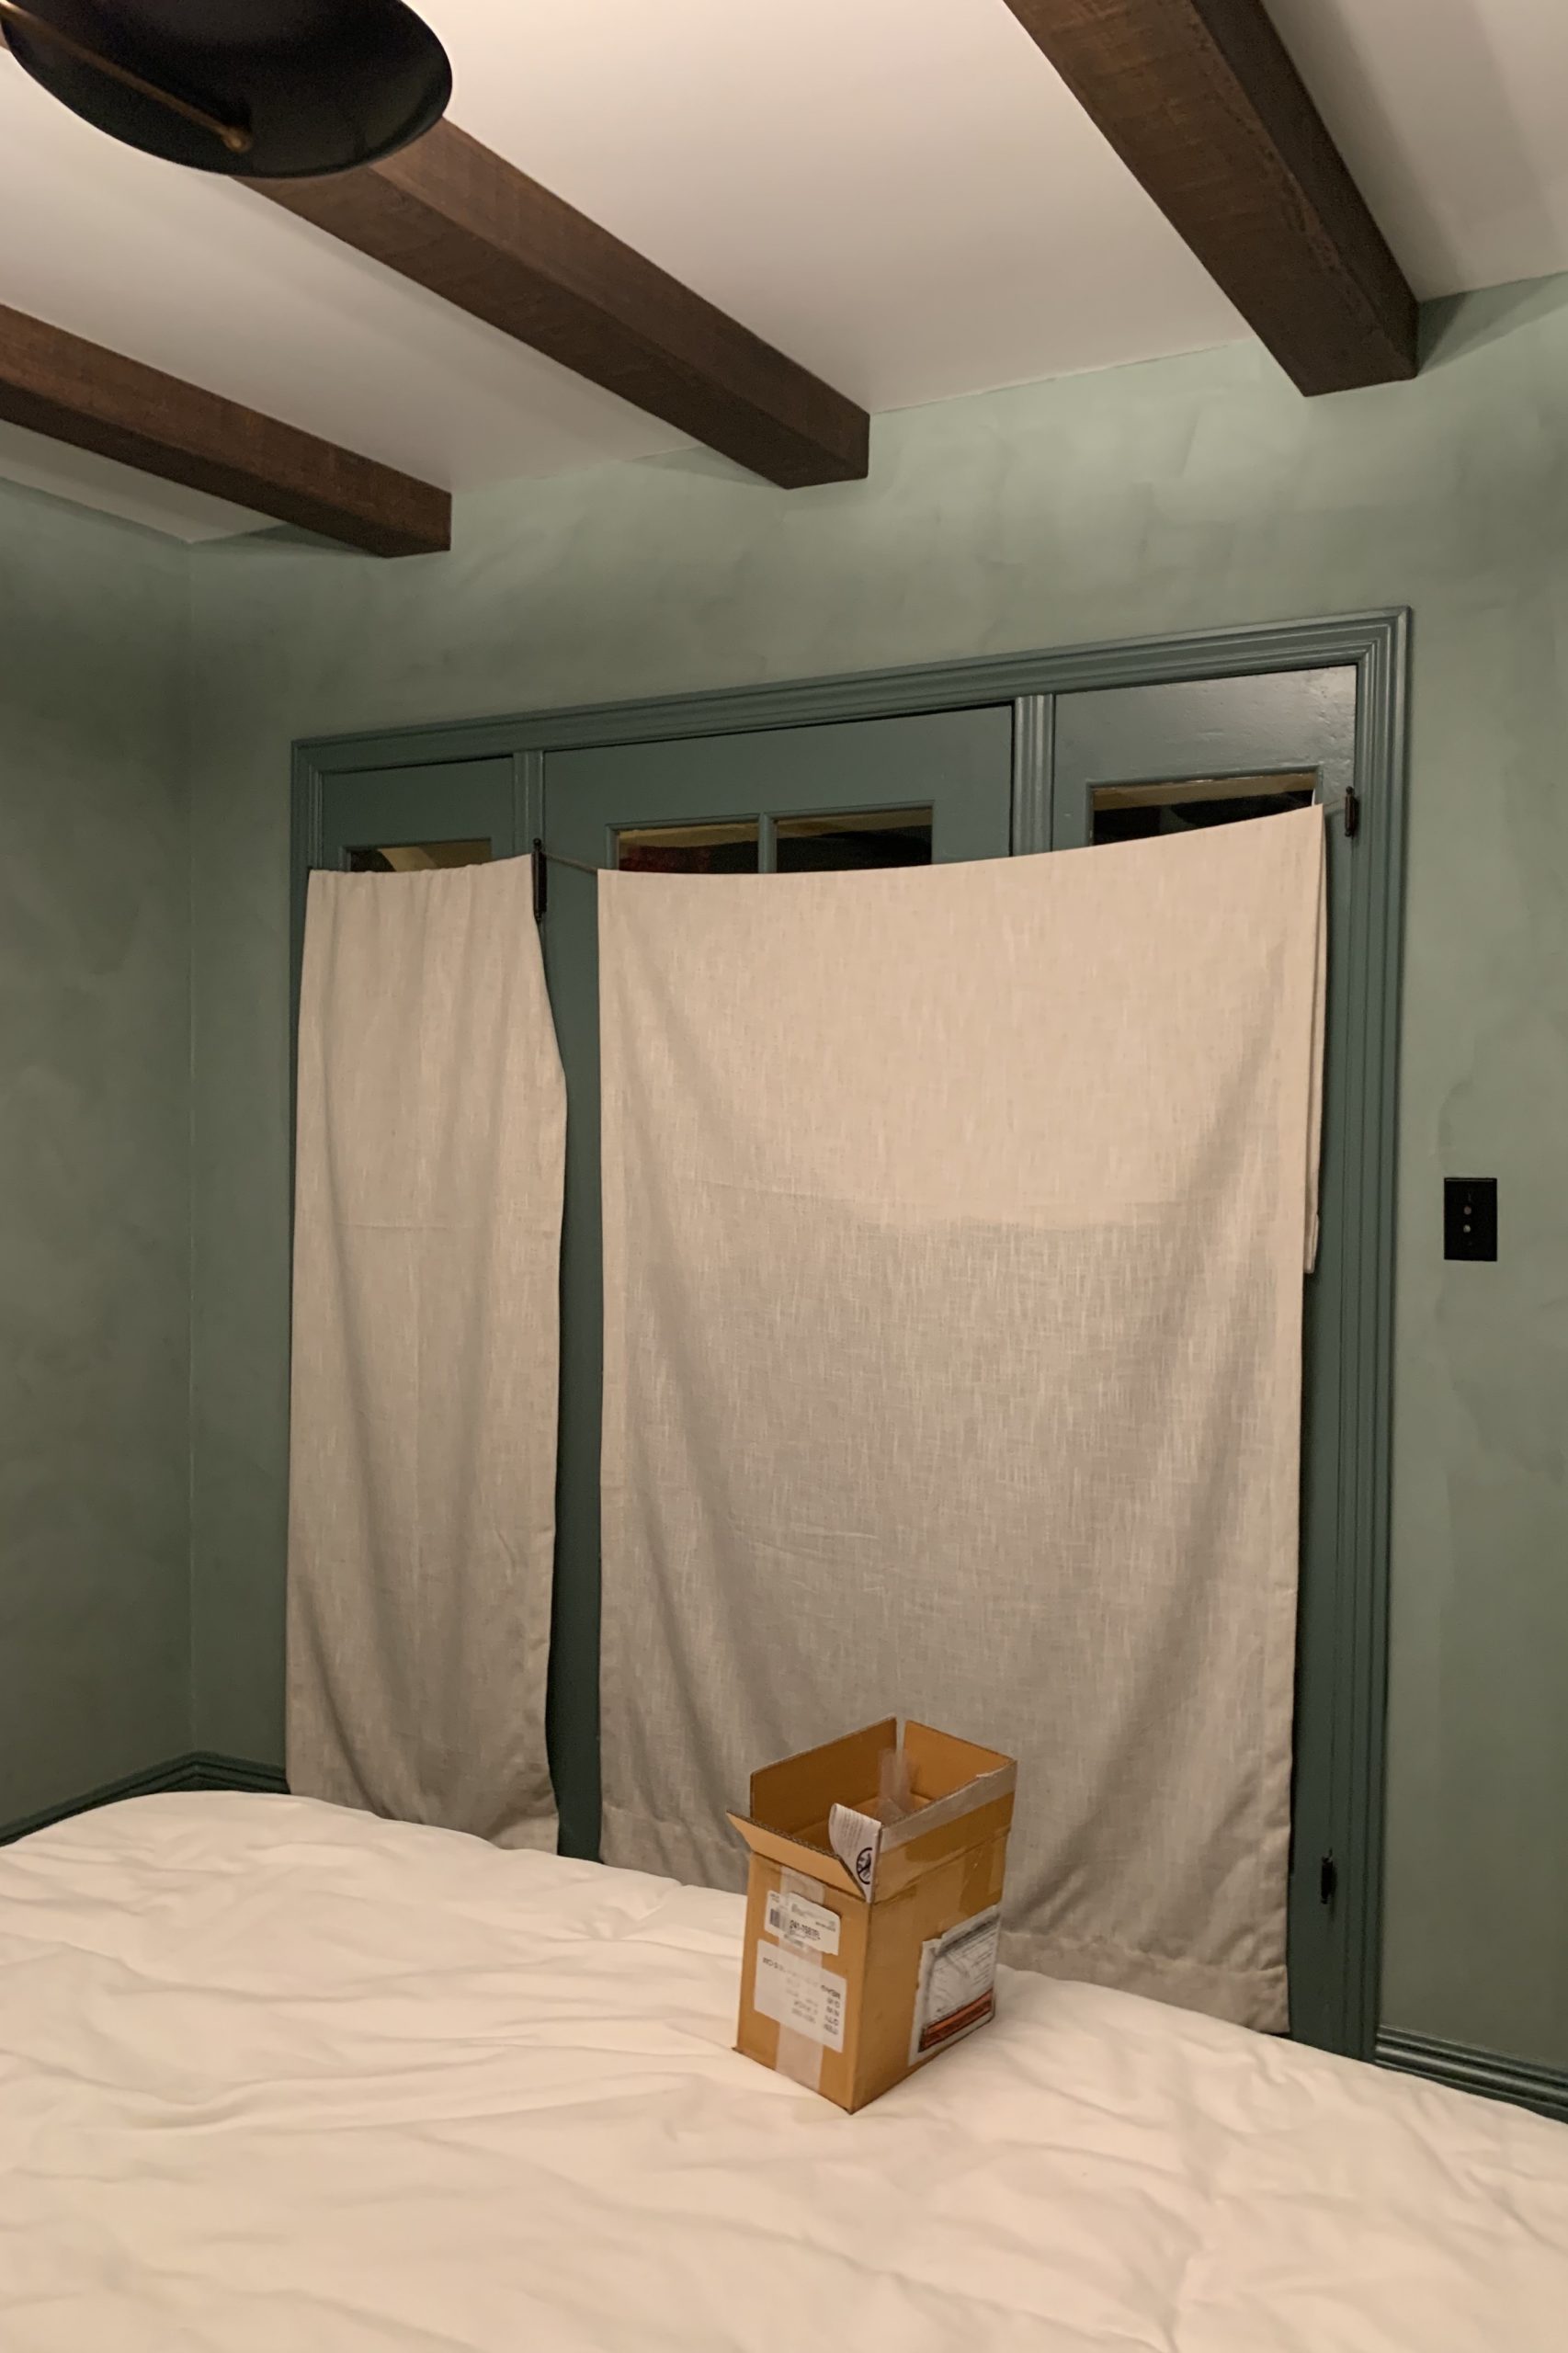
Once the paper came up from the floor I got really excited about taking the paper off the window panes too. I really thought that we could get the new window treatments up quickly and I should have known better than to try something like that. No sooner did I get the windows uncovered before I realized we wouldn’t have time to hang the new drapery rods before going to bed. Since I didn’t want to sleep in a fishbowl where any weirdo could watch me sleep, I had to improvise. Cue my genius yet sloppy solution: clothesline curtains. 🤦🏼♂️We have been using the room like this for nearly the entire last two weeks.
WHAT’S LEFT
It might seem like there’s not much left to do, but there is! We’ve still got to:
Install the drapery rods
Re-work our original curtain panels to work as new drapery panels (why did I sign up for this?)
Install the new roman shade
Finish installing the leaded glass panel in the closet
Re-wire and install the vintage closet light
Plenty of paint touch-ups (when will it end!?)
Decide what to do with my dresser (still!)
Assemble and install the rugs and furniture
Frame and install artwork and…
Accessorize with final styling!
AM I WORRIED?
I’ll be honest with you, I’m a little nervous about finishing everything for the master bedroom makeover now that I’m taking care of my Dad. Add on top of that covid related things like my framer not working at full capacity. We’re still going to have a fabulous room, but it just may not have everything done in time and I’m not going to stress about that.
MY WONDERFUL ONE ROOM CHALLENGE SPONSORS AND COLLABORATION PARTNERS:
Faux Wood Beams by Barron Designs
Rug by Jaipur Living
Pillows & Throws by Pom Pom At Home
Limewash Paint by Portola Paints
Roman Shade by Select Blinds
Nightstands by Wisteria
DISCLAIMER: Wrensted Interiors contains some contextual affiliate links. I only recommend products or services I use personally and feel my readers will enjoy. All opinions are 100% mine.